Asteroid City LUT
I’ve been captivated by the look of Wes Anderson’s movie “Asteroid City.” It has this wonderful aquamarine vibe to it. Shadows are minimized and skin tones are very even. Blues turn to aquamarine, giving lush and wonderful skies. I’ve been on a project to recreate this look and feel. I’ve discovered there’s a lot at play, including lighting, exposure and the like – yet a camera like the Lumix S9 can shoot with this look in photo and video.
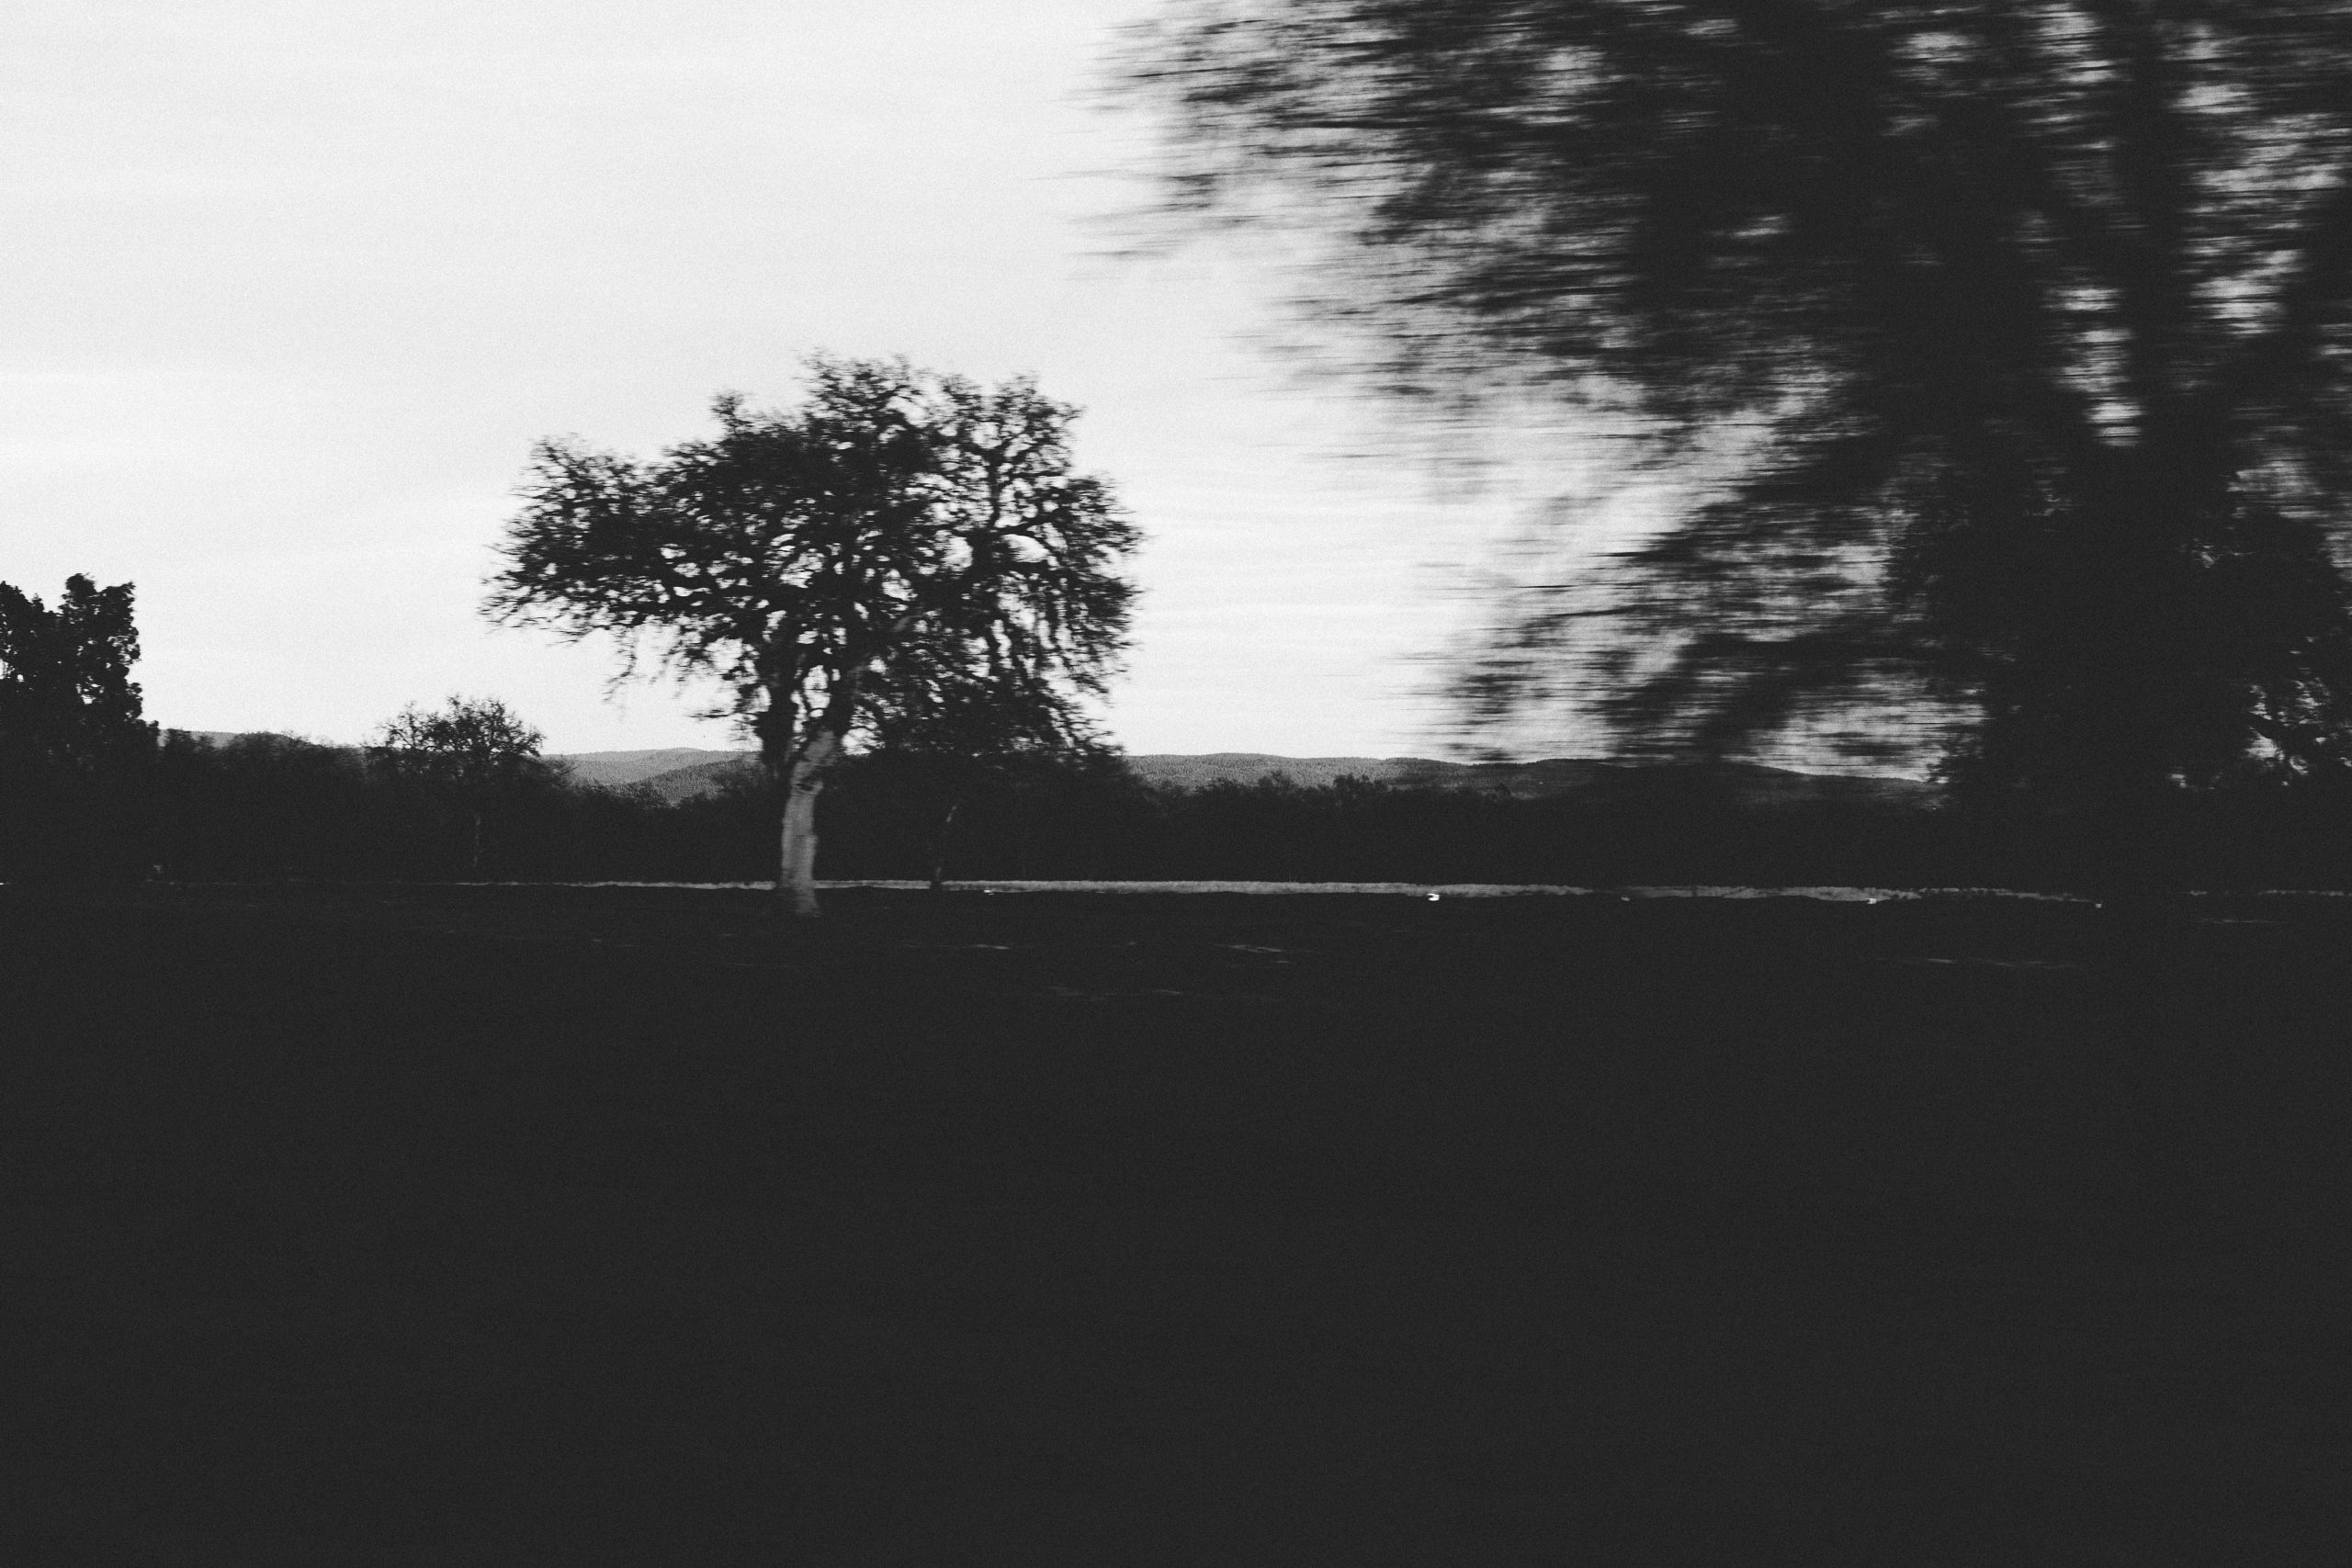
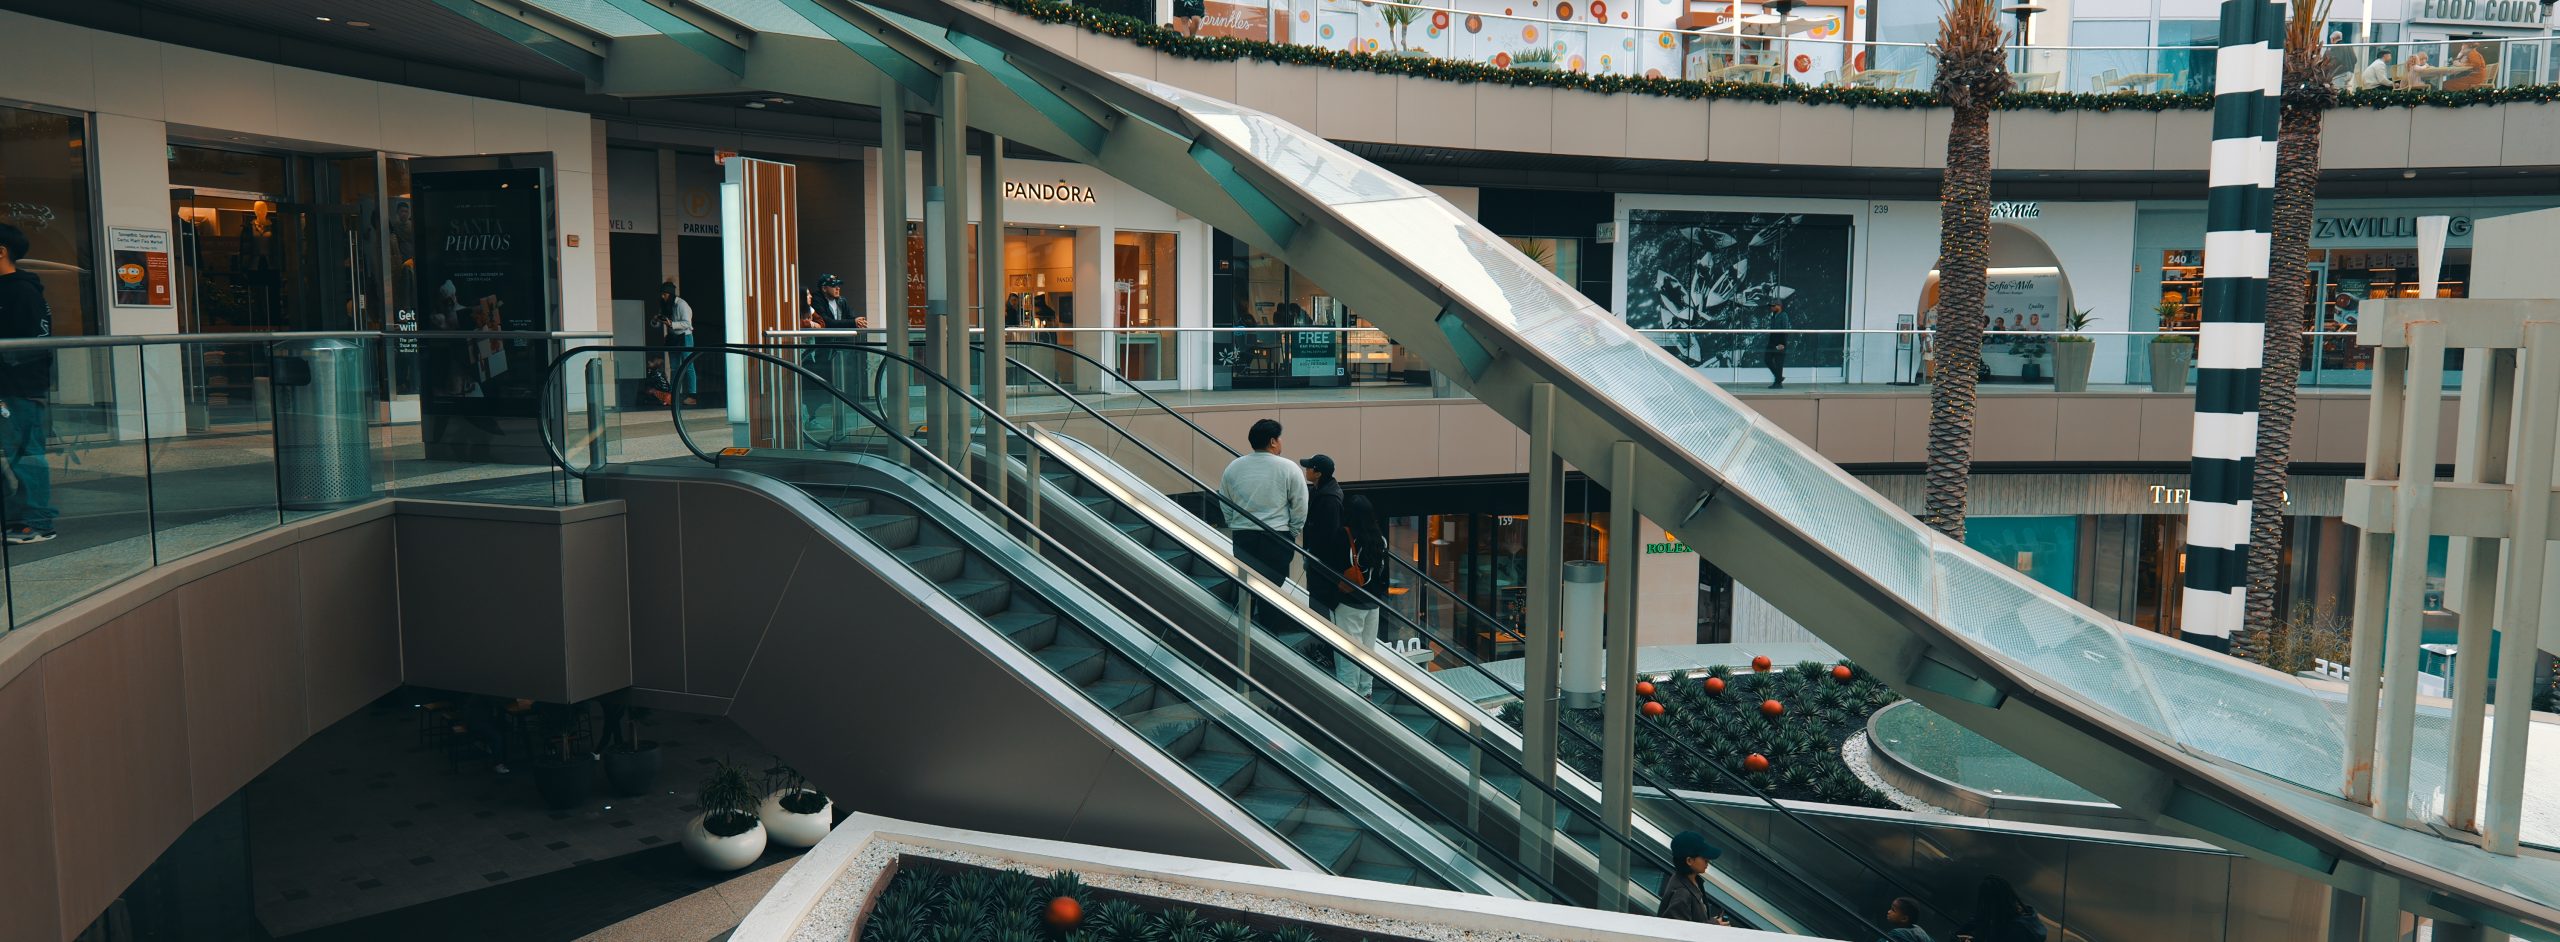
What I’m Trying to Get
There’s slight variance in these shots. Likely the variance is due to the people hosting or sharing the stills, because they may have adjusted contrast, or colors. There’s also the different shots at potentially different times of day, exposure, etc. However, there’s a general look and vibe that can be felt in these shots. Shadows are minimized, likely with physical devices (reflectors, etc.) and potentially with the way it was shot (higher dynamic ranges).


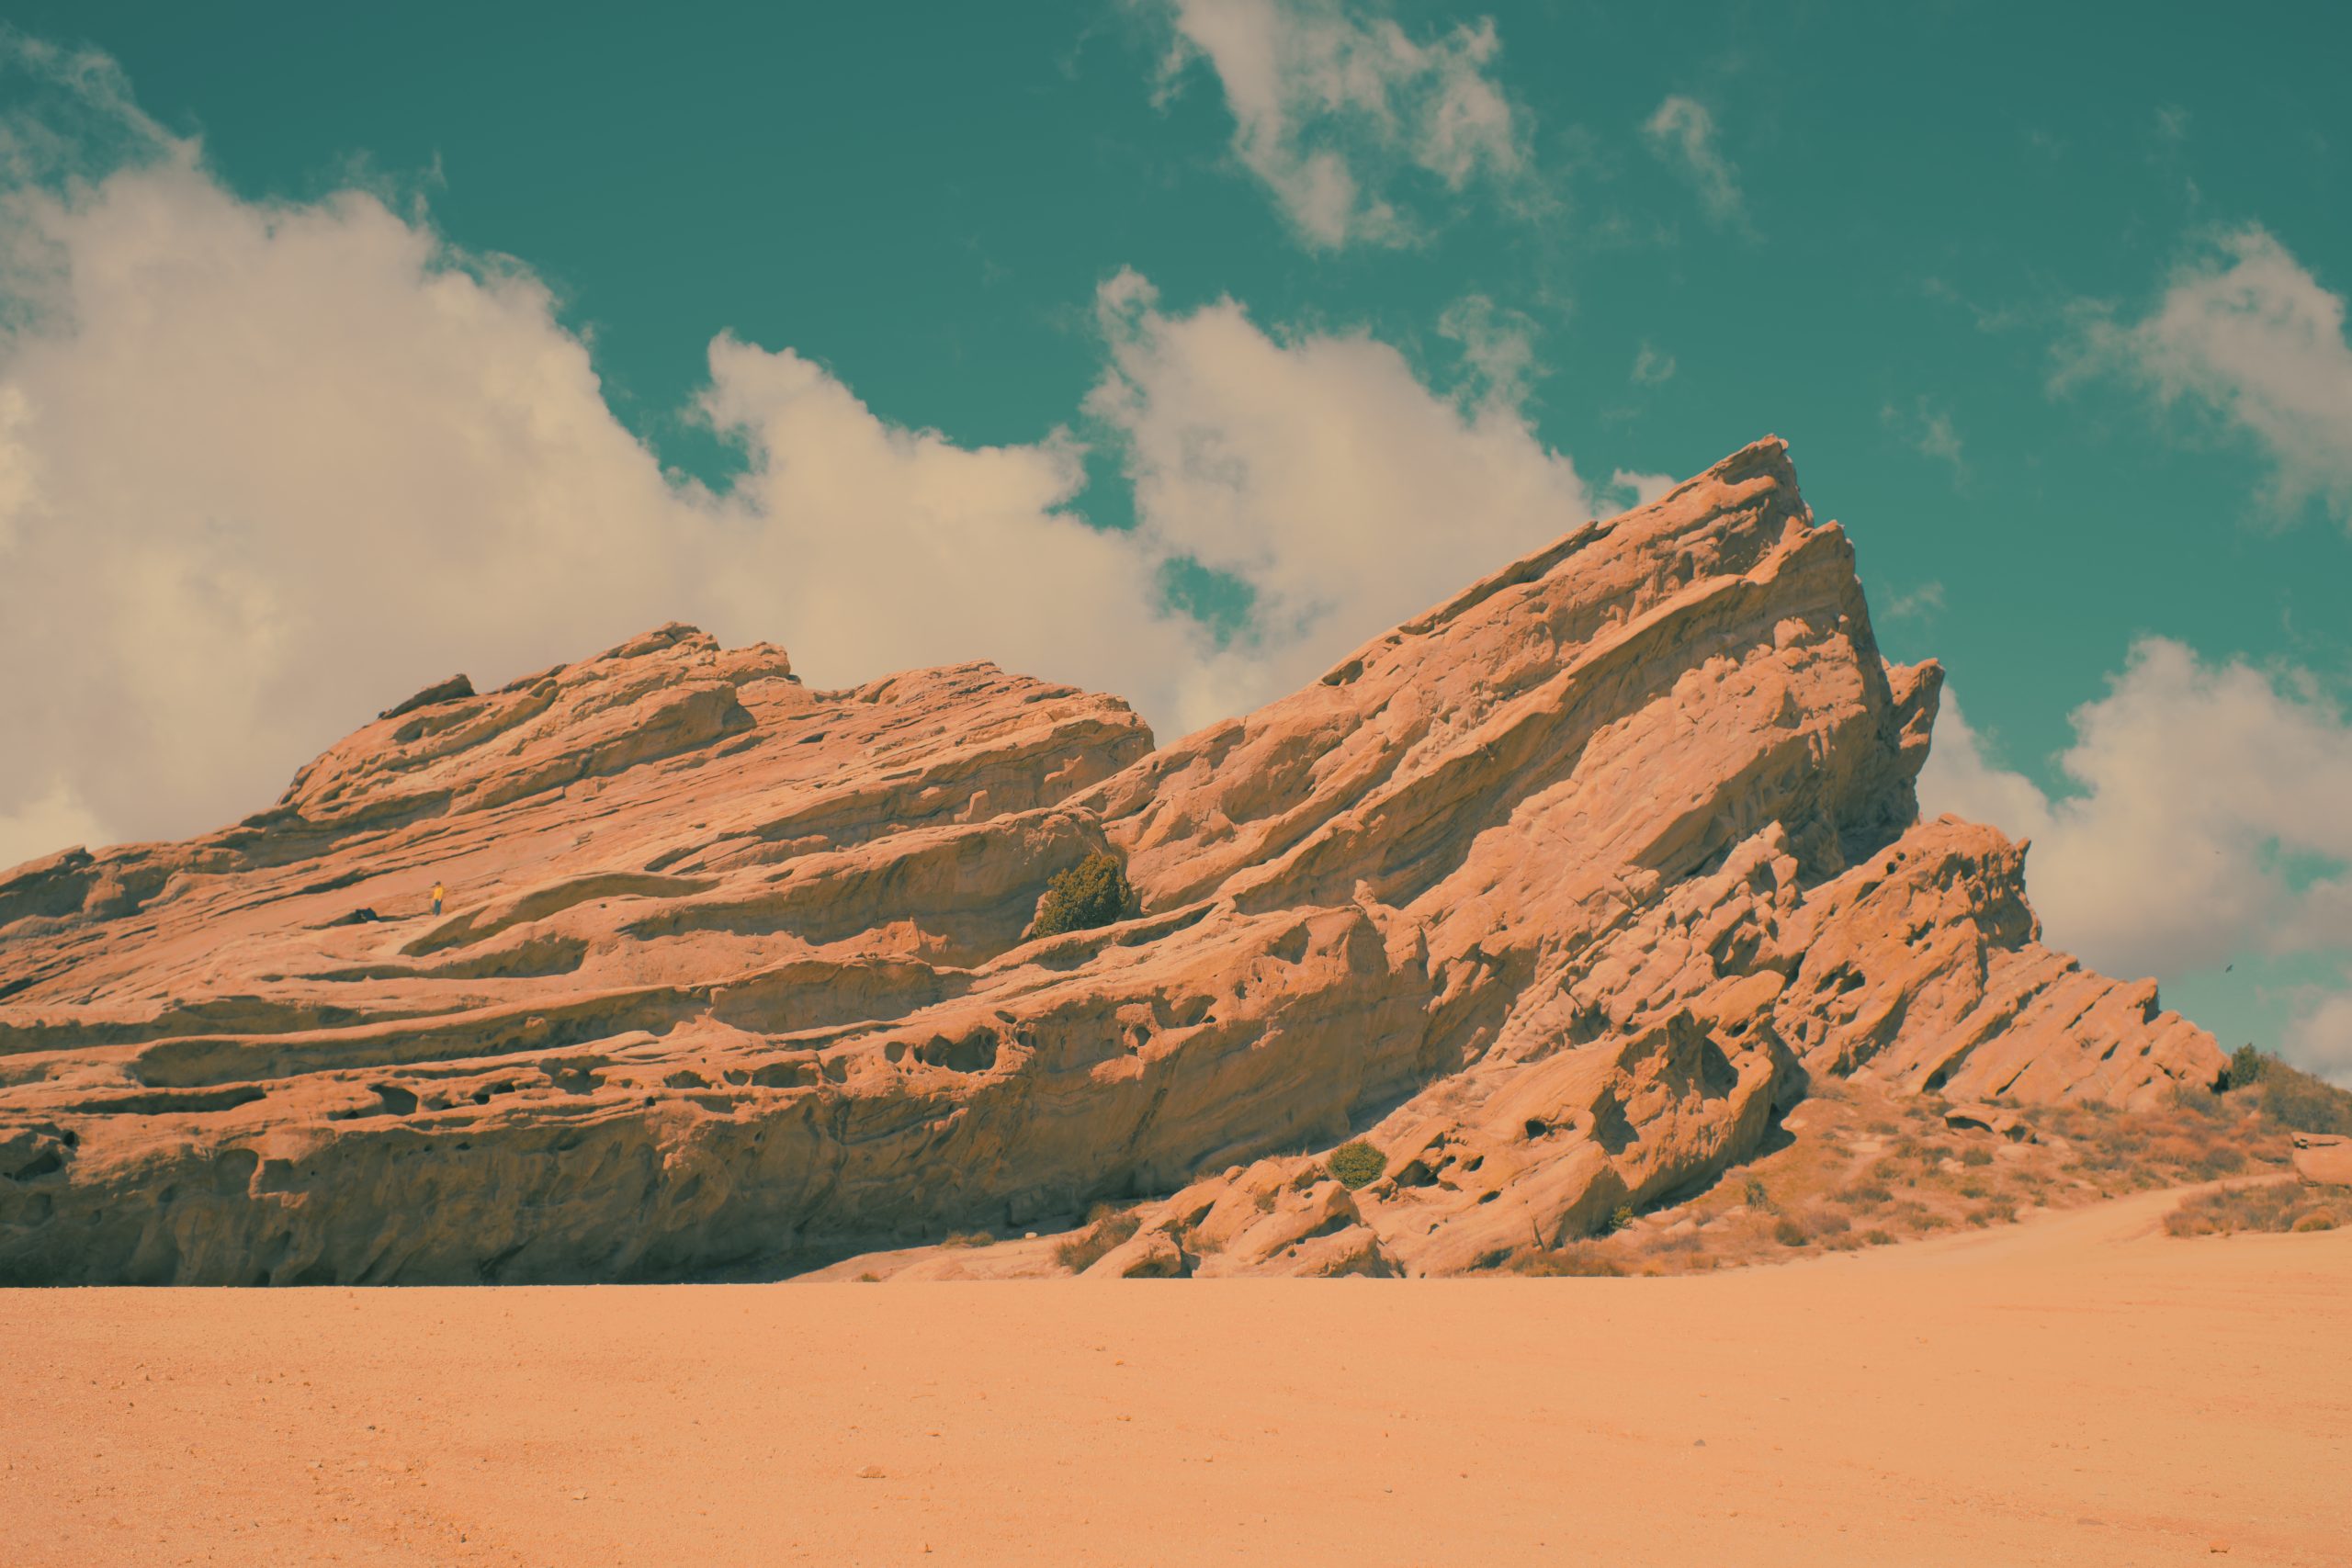
What I ended up With
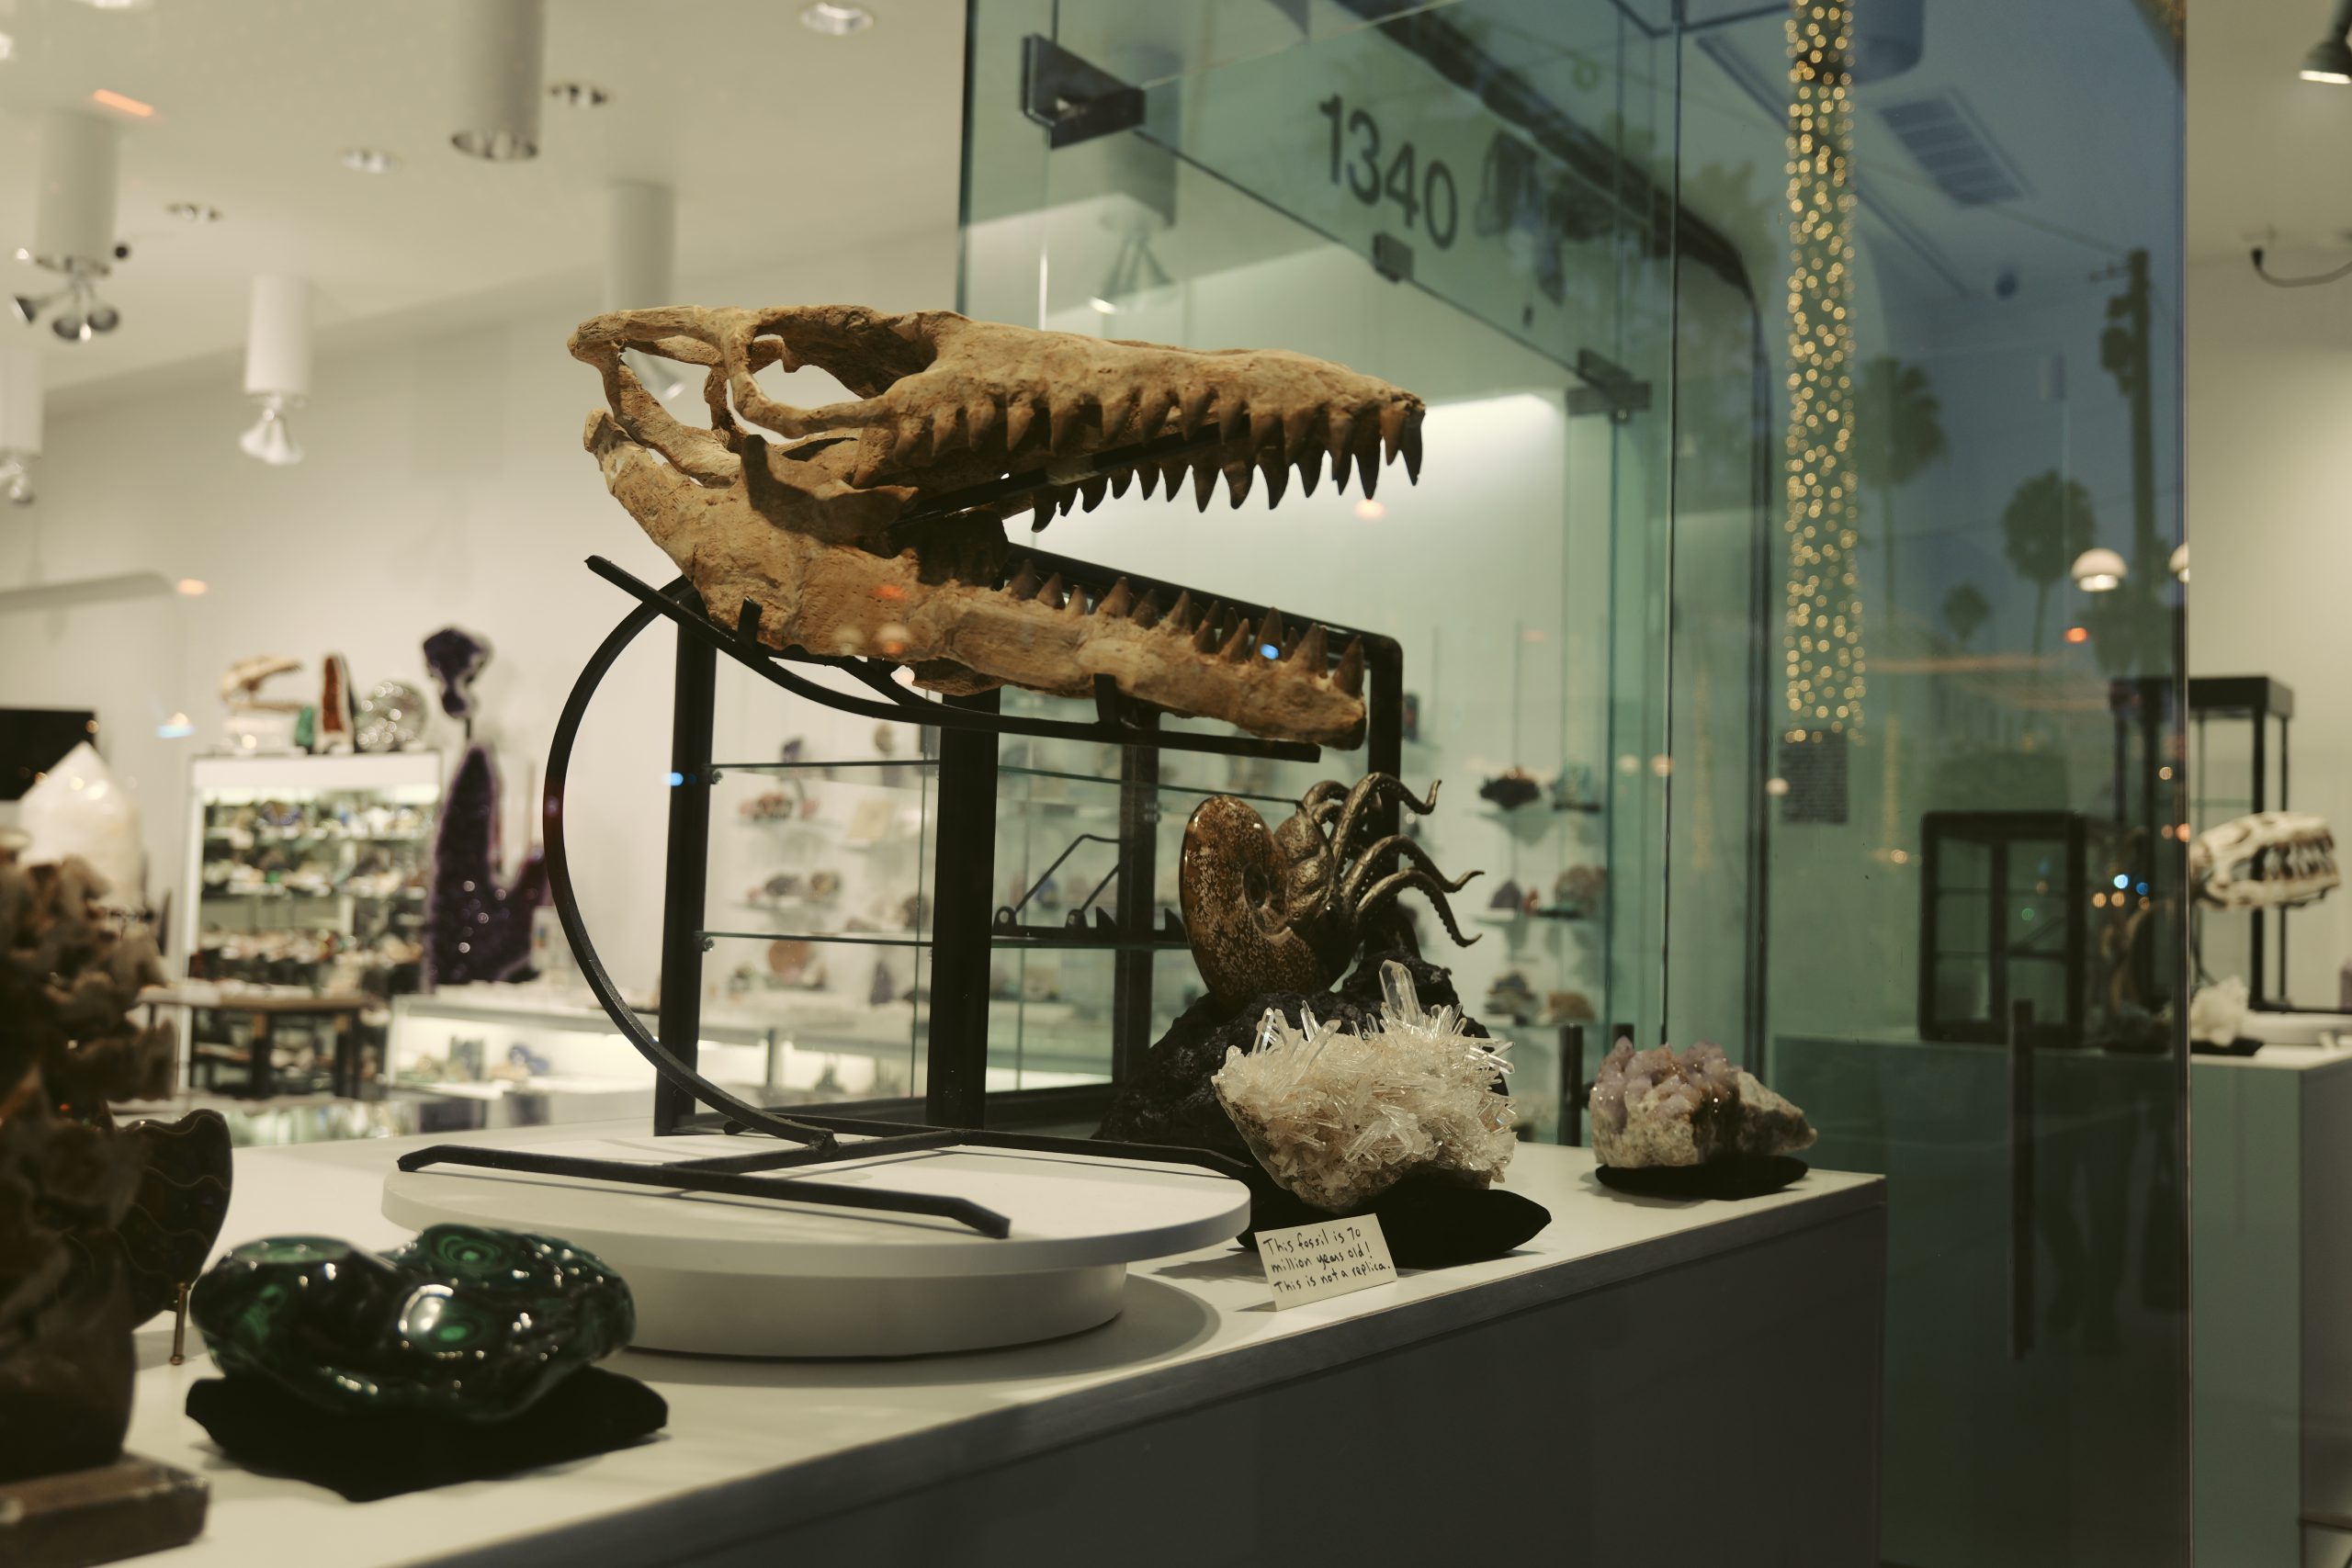
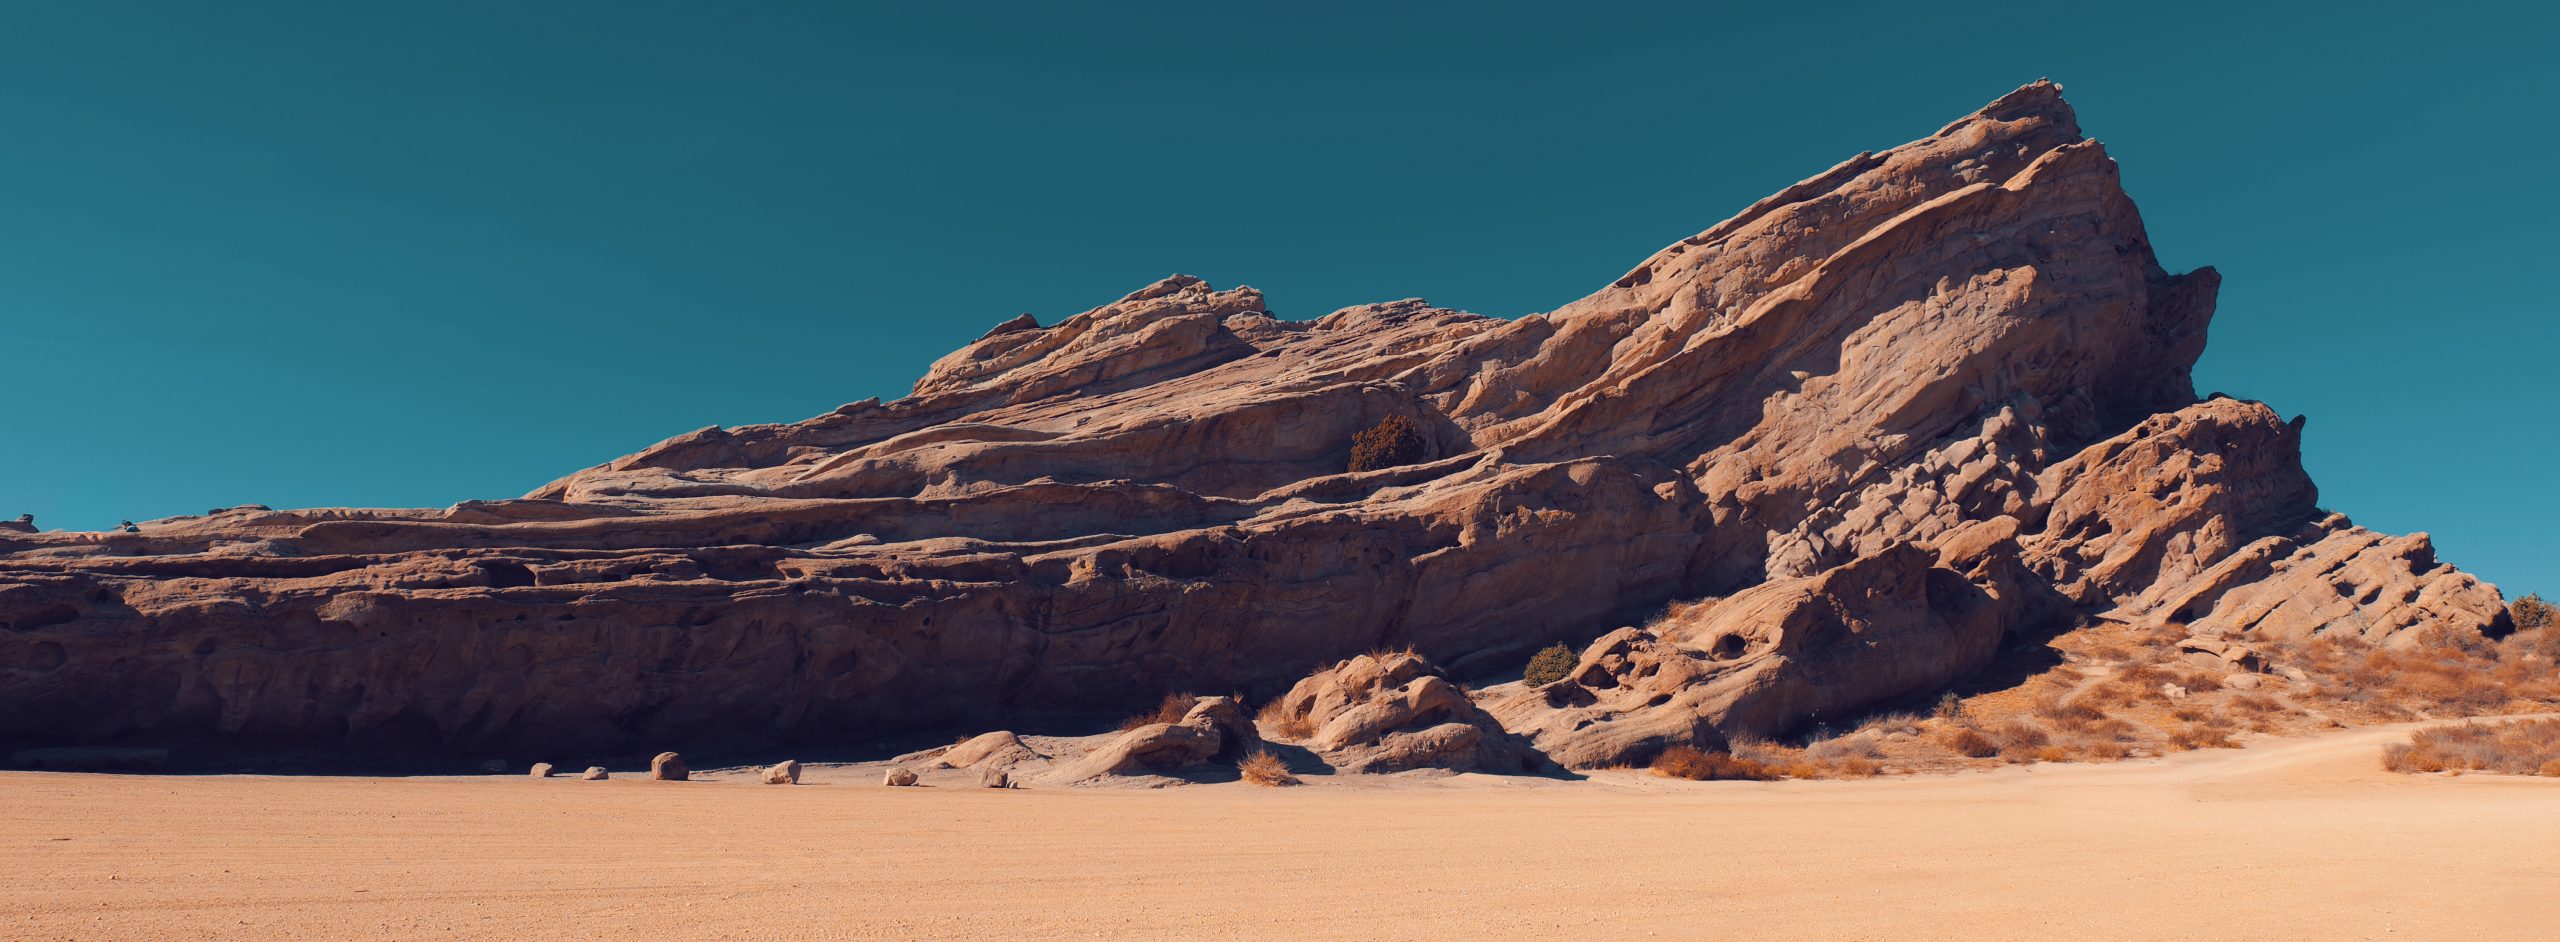
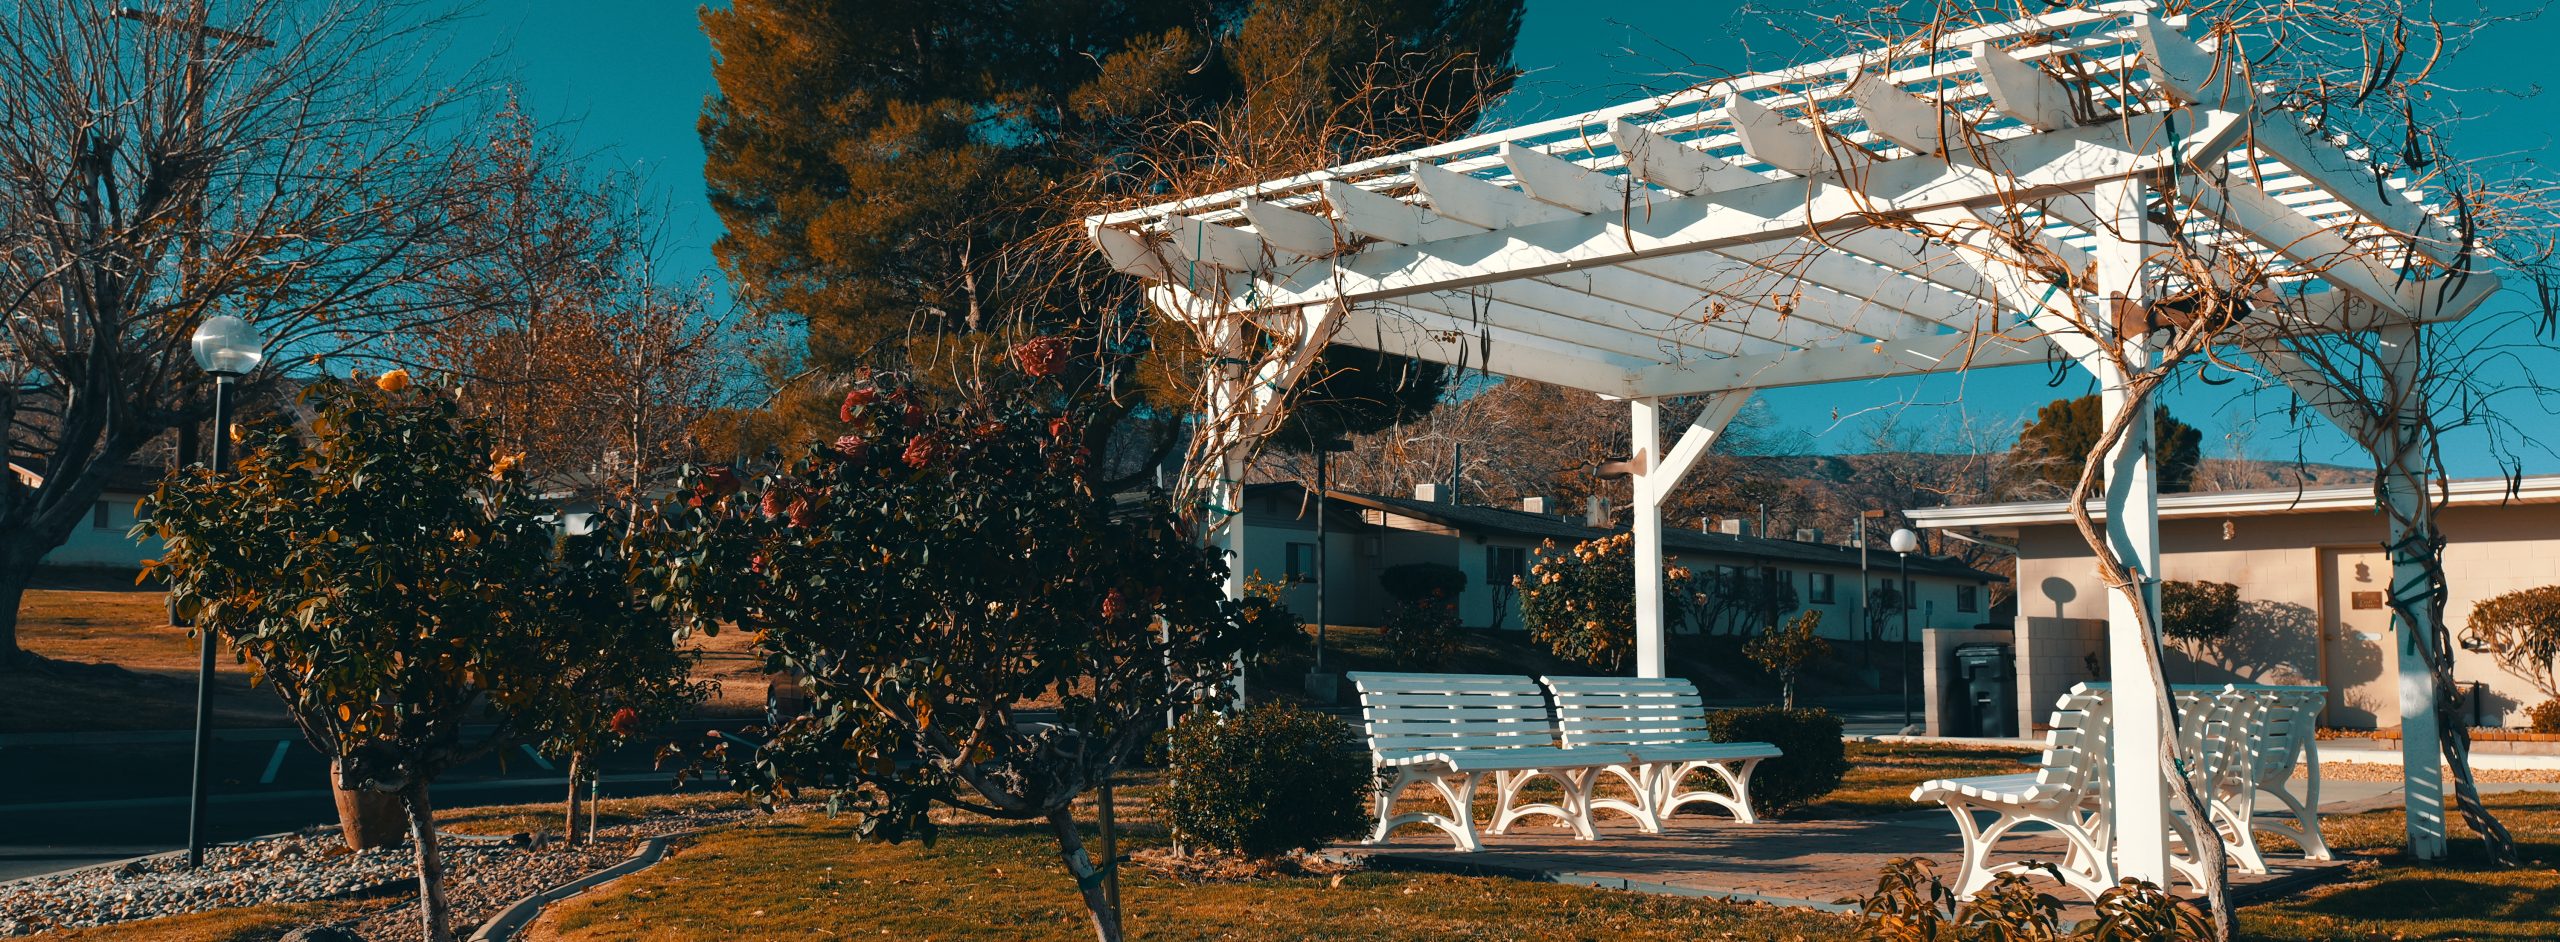
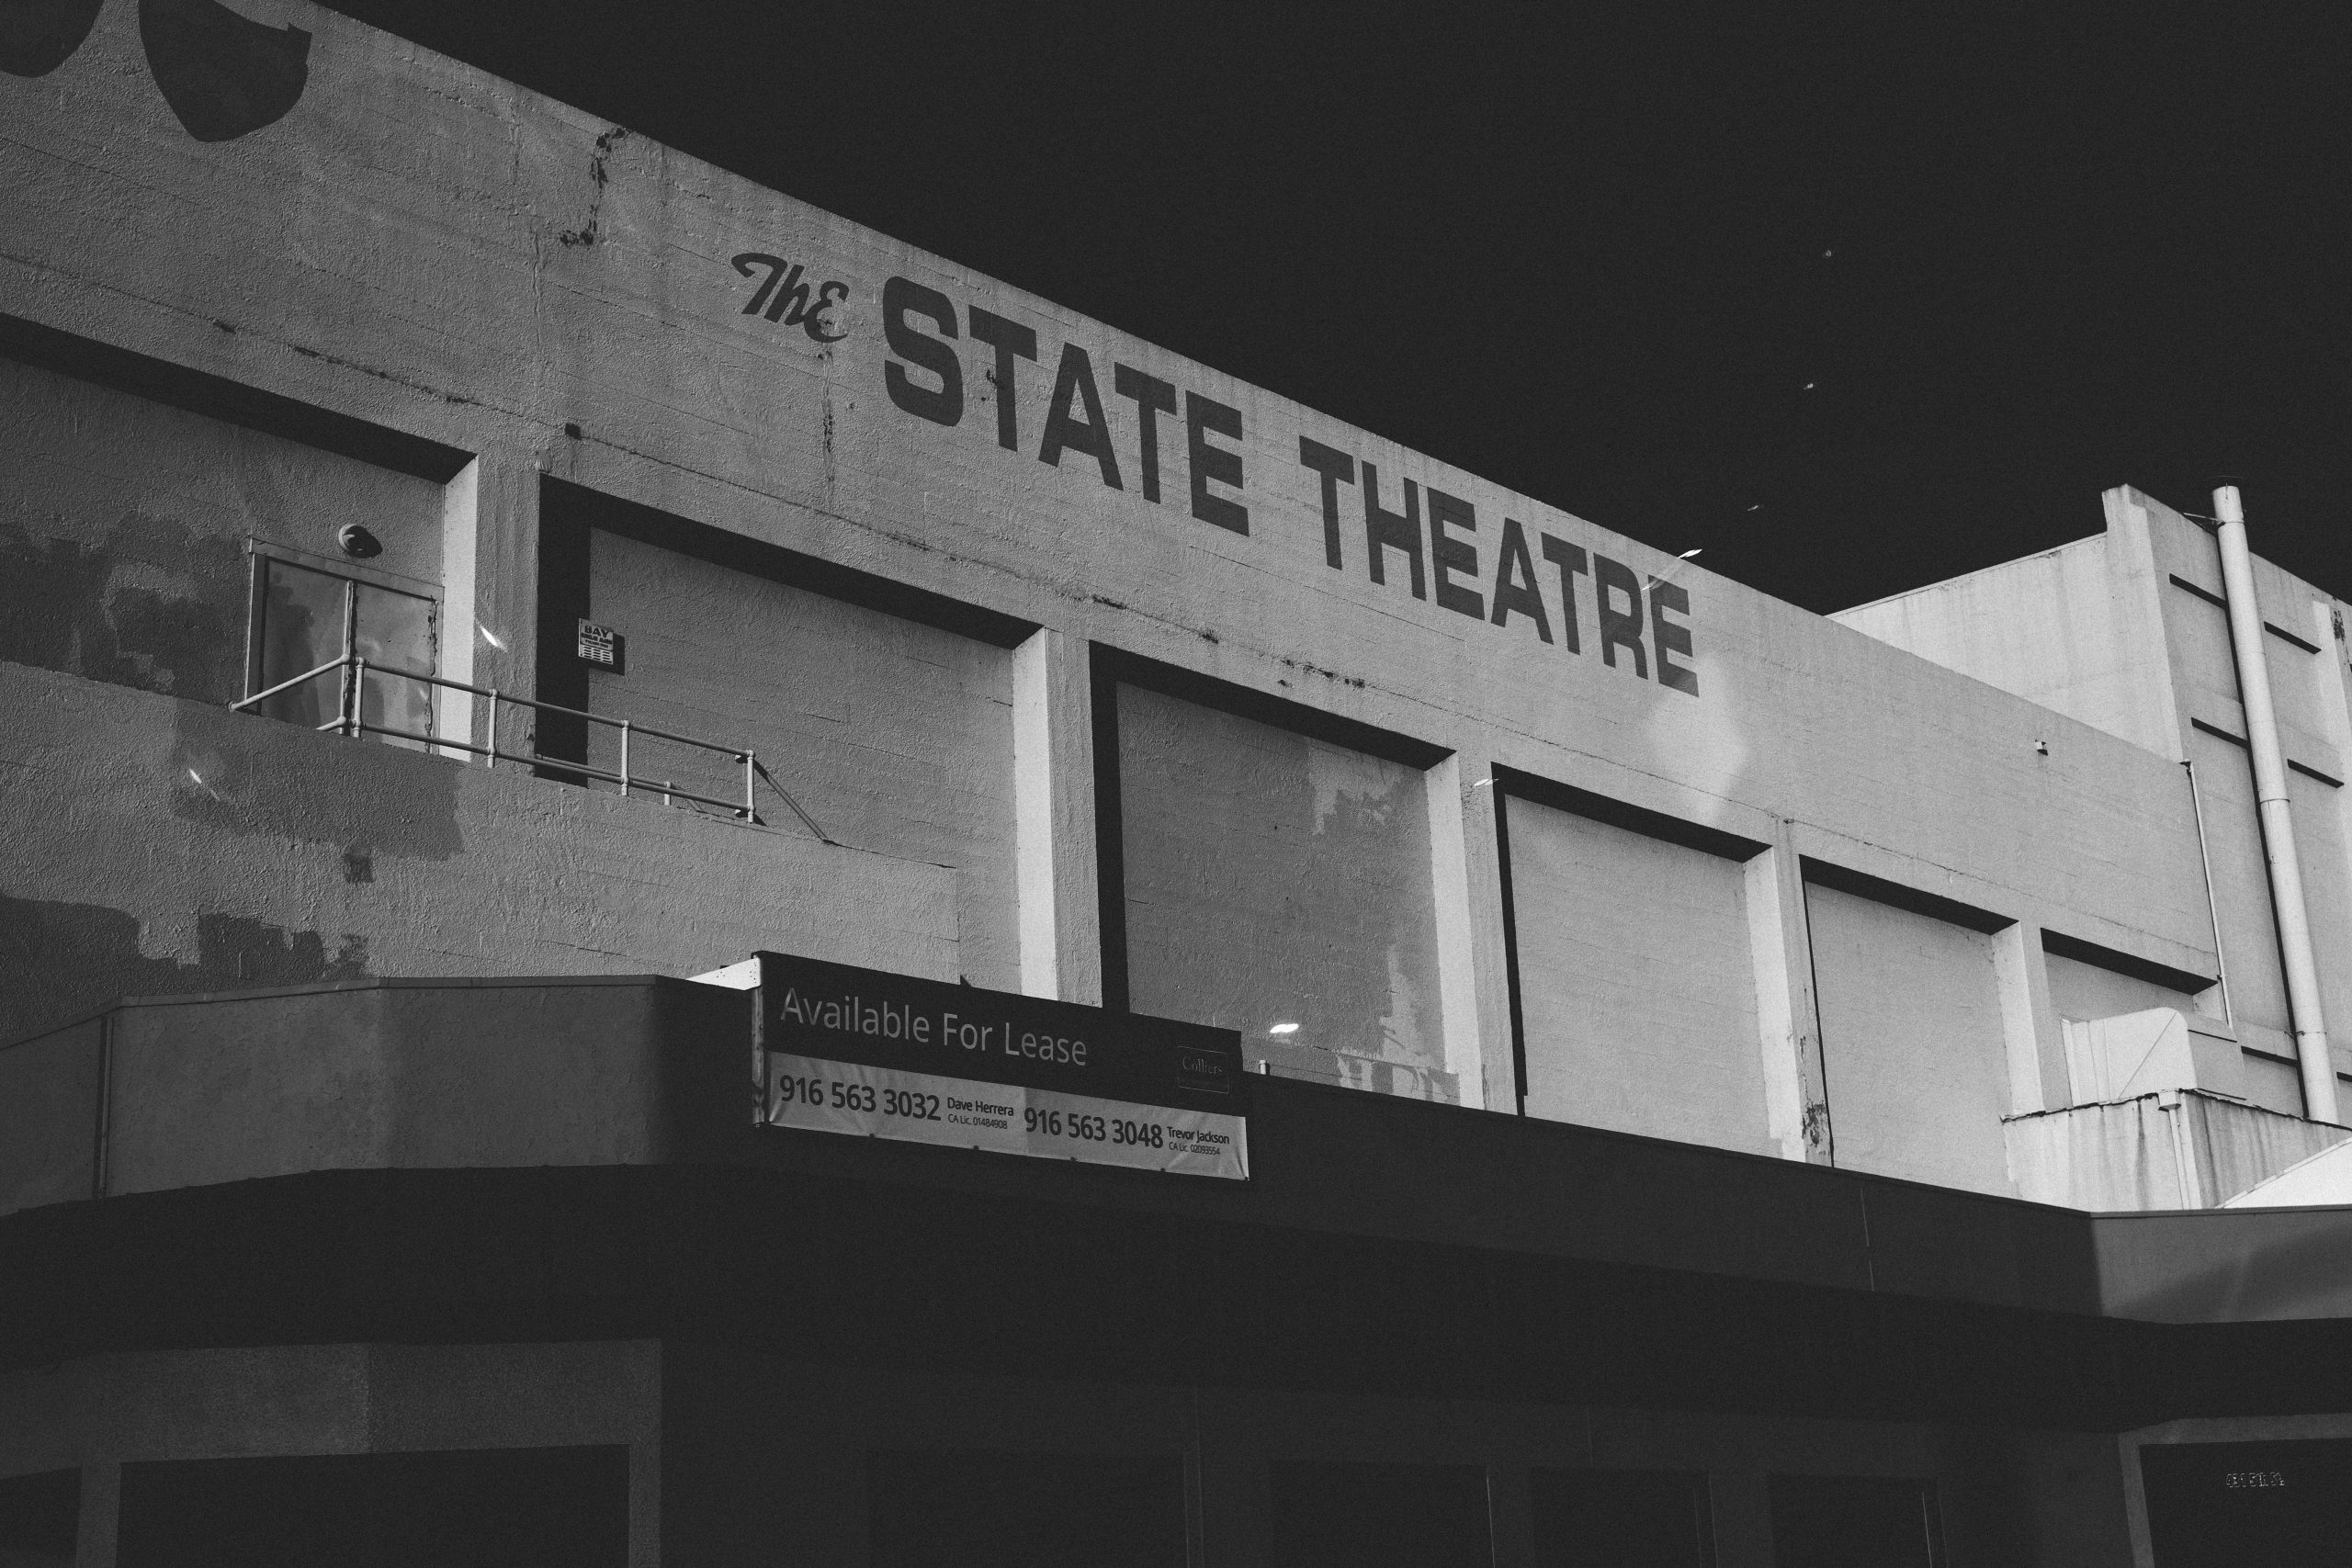
It’s not perfect. My skies are a bit darker than the references. They are closer to the bottom image above (phone booth shot). Desaturating the blue/teal, or brightening it, might resolve that. Skin tones are a bit saturated as well. Still, it’s a pretty close result.
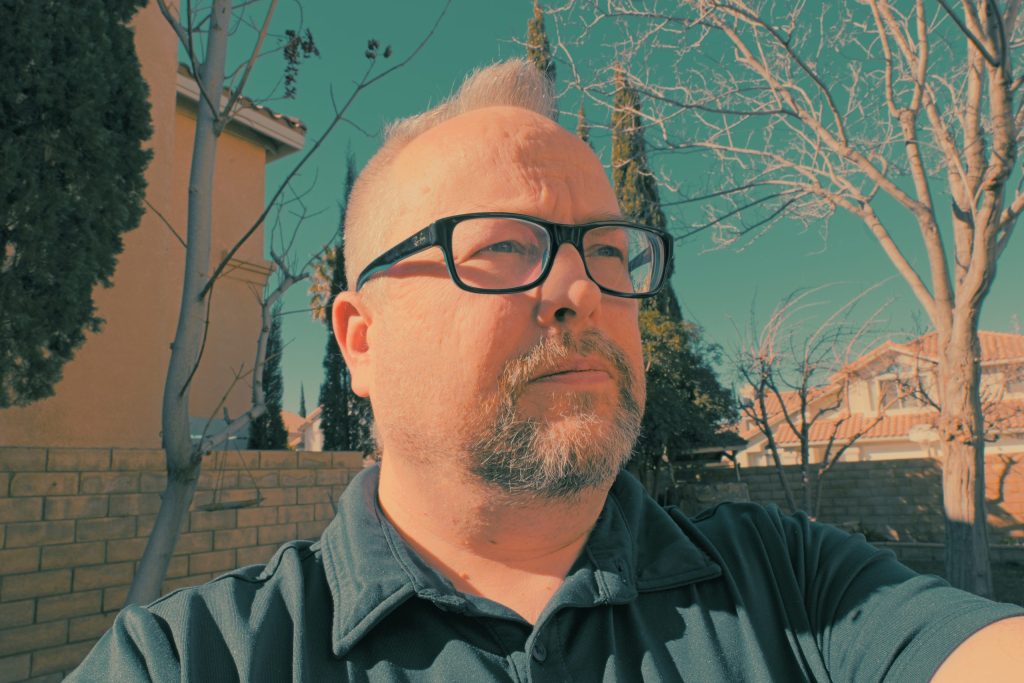

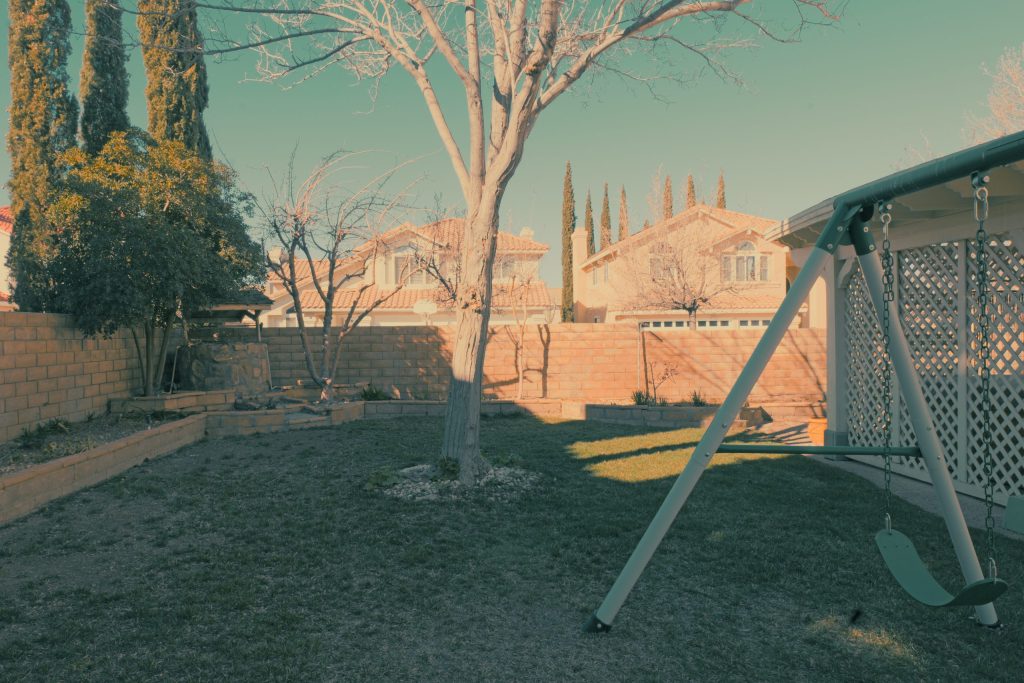
I think changing the color profile to L.Classic.N on the Lumix camera body, might get closer to that softer and lighter tone.
Continued Improvements
Looking at my shots vs. the film, I can clearly see that I’m too saturated. By desaturating or brightening out the tones, or using a softer color profile (or both), I could probably get closer to the desired look.
The Base LUT
I purchased the Asteroid City LUT from https://prismlensfx.com/products/asteroidcity While this LUT is a good starting point, I felt on it’s own it wasn’t quite there. The tones of the shadows needed to be adjusted and there were some other colorization issues. It’s fairly cheap and gets 70% of the way there, so it’s worth the price point imo.
Modifying the Base LUT
Taking my Lumix camera outside I took some basic shots in standard, flat and L.Classic.N color profiles. I shot with the Dynamic Range set to High (to minimize dark shadows).
Using Adobe Photoshop, I brought the sample shots in and then then applied the base LUT I bought from PrismFX. Since the LUT was a 64 bit LUT, I converted it to 32 Bit and got it on the camera body (steps for this can be found from my other article).
Once the LUT was on the camera, I sync’d the LUT over to the Lumix Lab App on my cellphone. There, in the app, I modified the look and feel.
I had taken High Dynamic range images in different color profiles on the Lumix camera. Then sync’d those images over to the Lumix Lab application’s gallery.
Constantly comparing to the source images, I modified the LUT. For example, I set the shadows to a bit of teal (using the Split Tone shadow hue values in the Lumix Lab App). I would constantly reimport back to the Camera and shoot in these different profiles, high dynamic range and sync them back and forth editing the LUT until I got the desired result.