How to Use 3rd Party LUTs with Lumix Cameras
I picked up my first Lumix (S9) last year. After picking it up I wanted to see if I could use third party LUTs on the camera body. It’s easy to get the LUT on the camera, but it’s a bit of effort to get the LUT properly setup. That’s what I want to talk about in this post, the steps to set up a LUT with a color profile, as there are two ways to do this, by either making use of Custom Profiles or by setting a profile on the LUT itself.
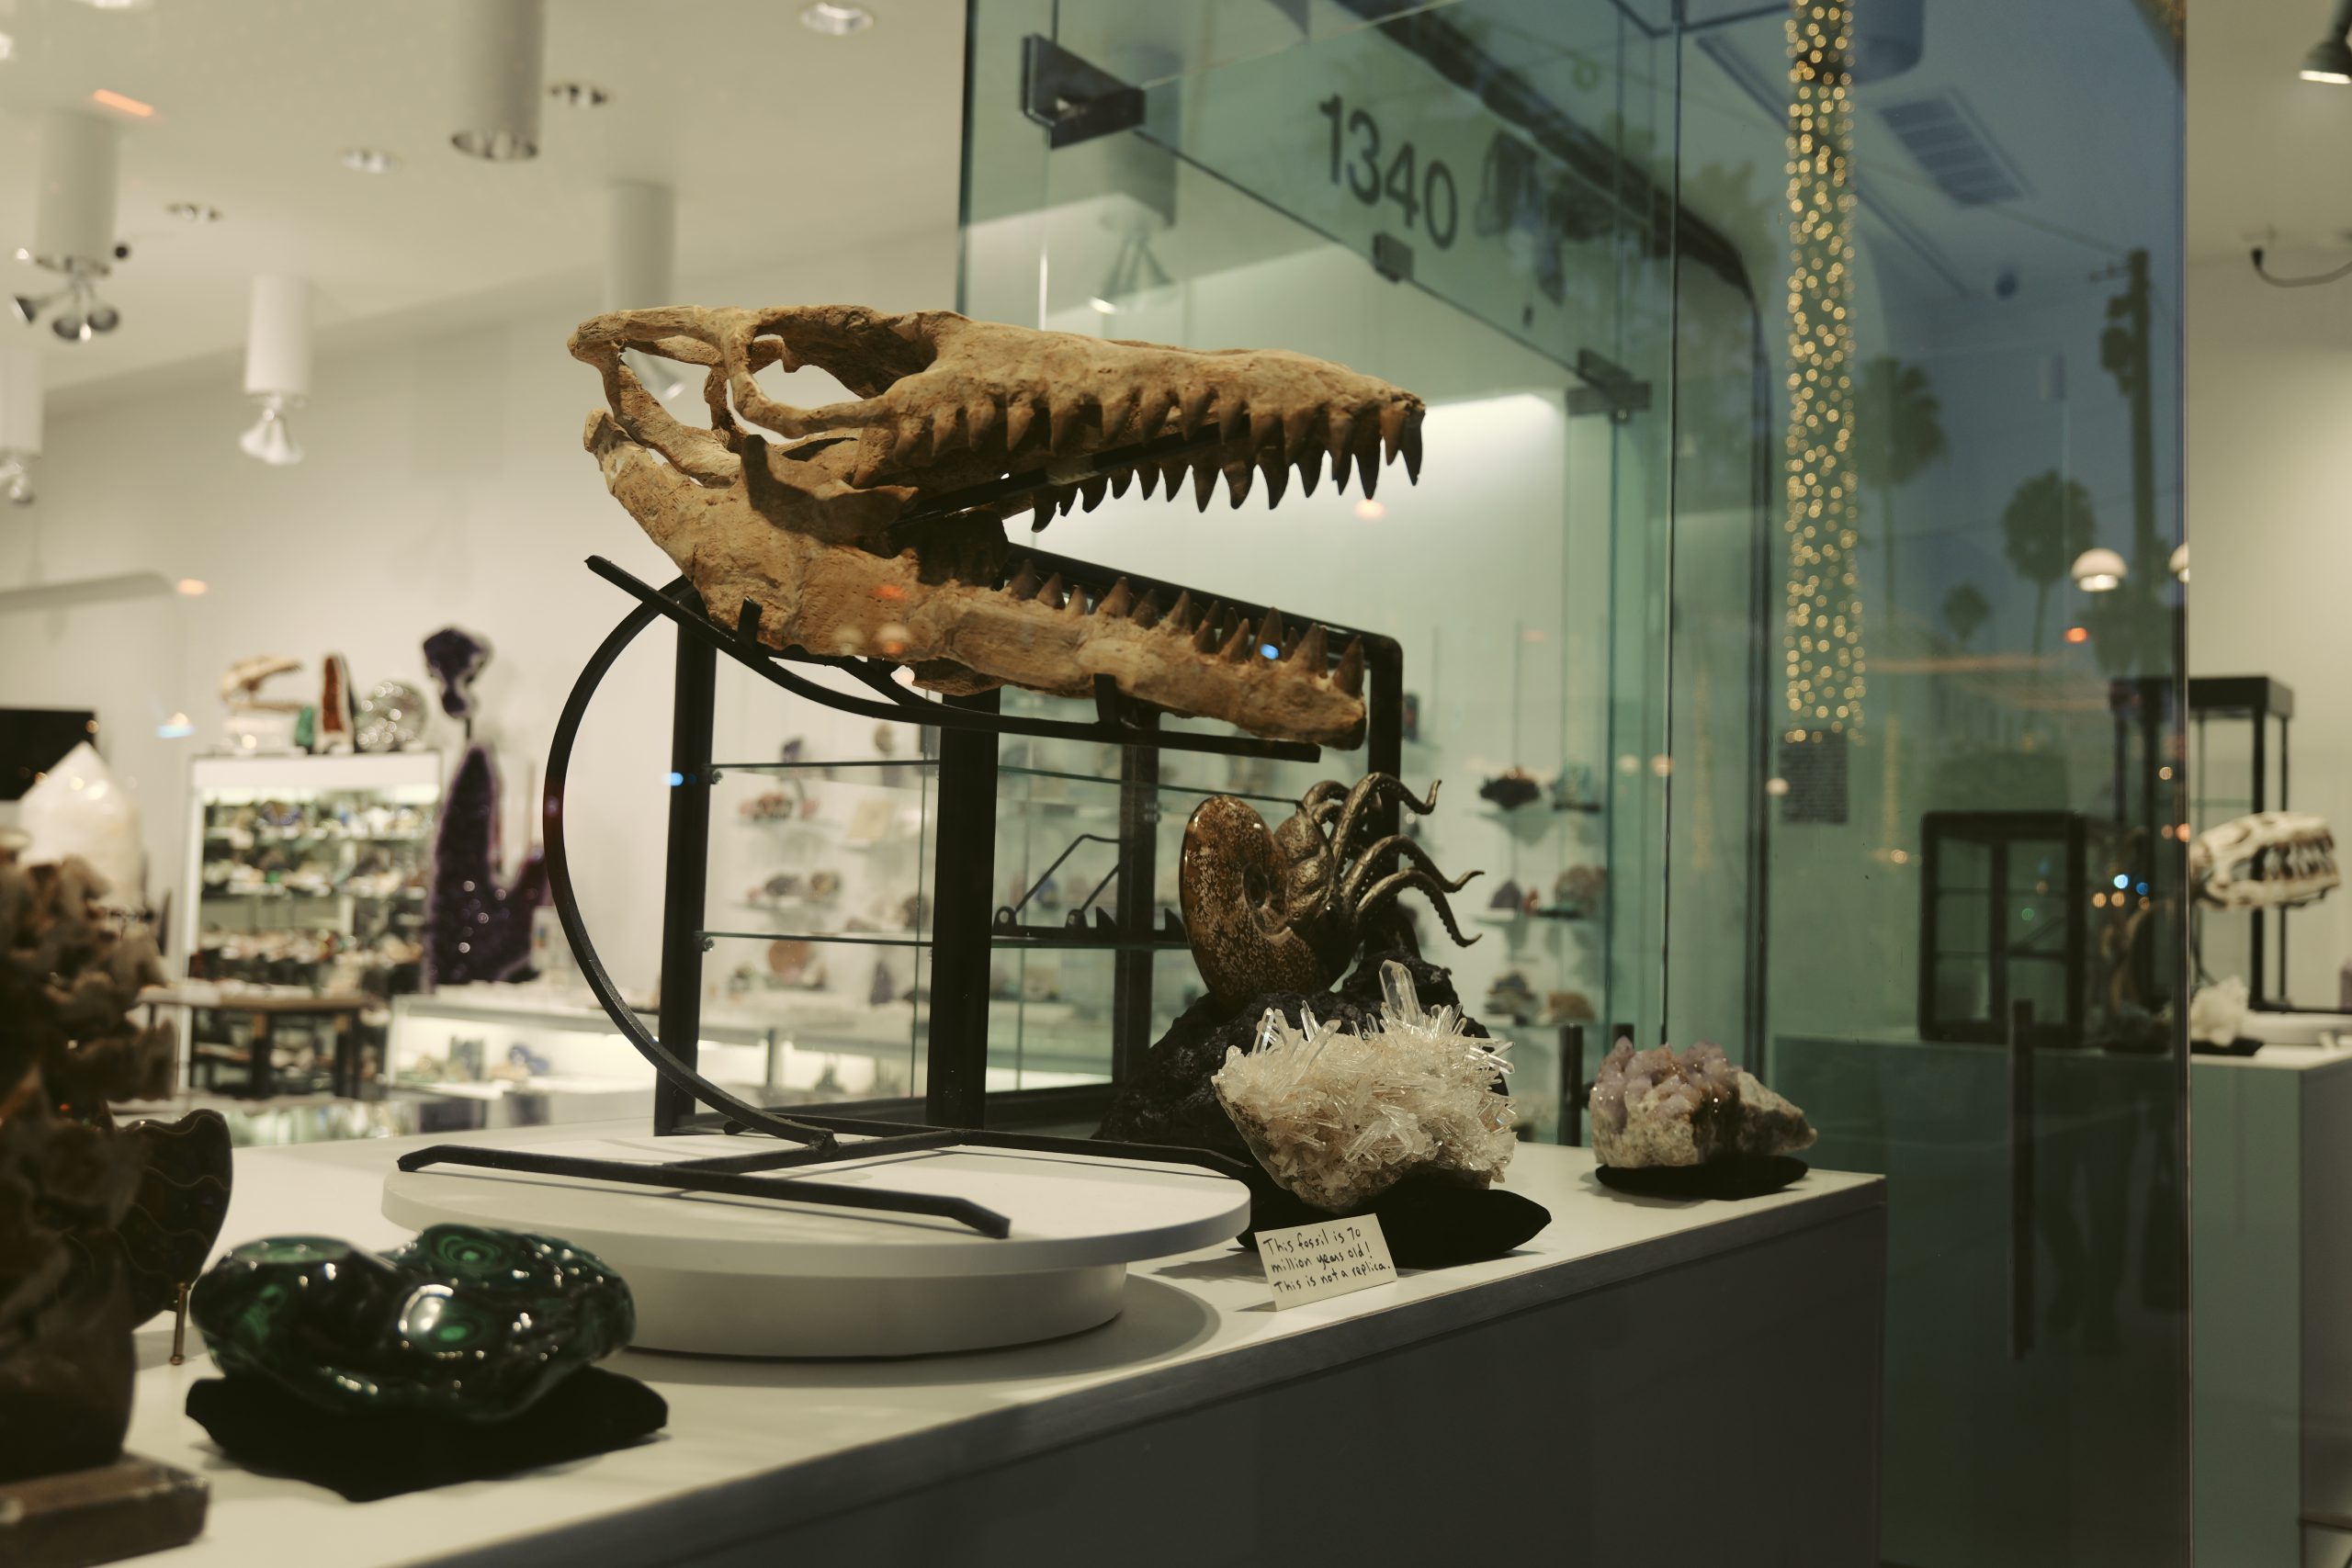
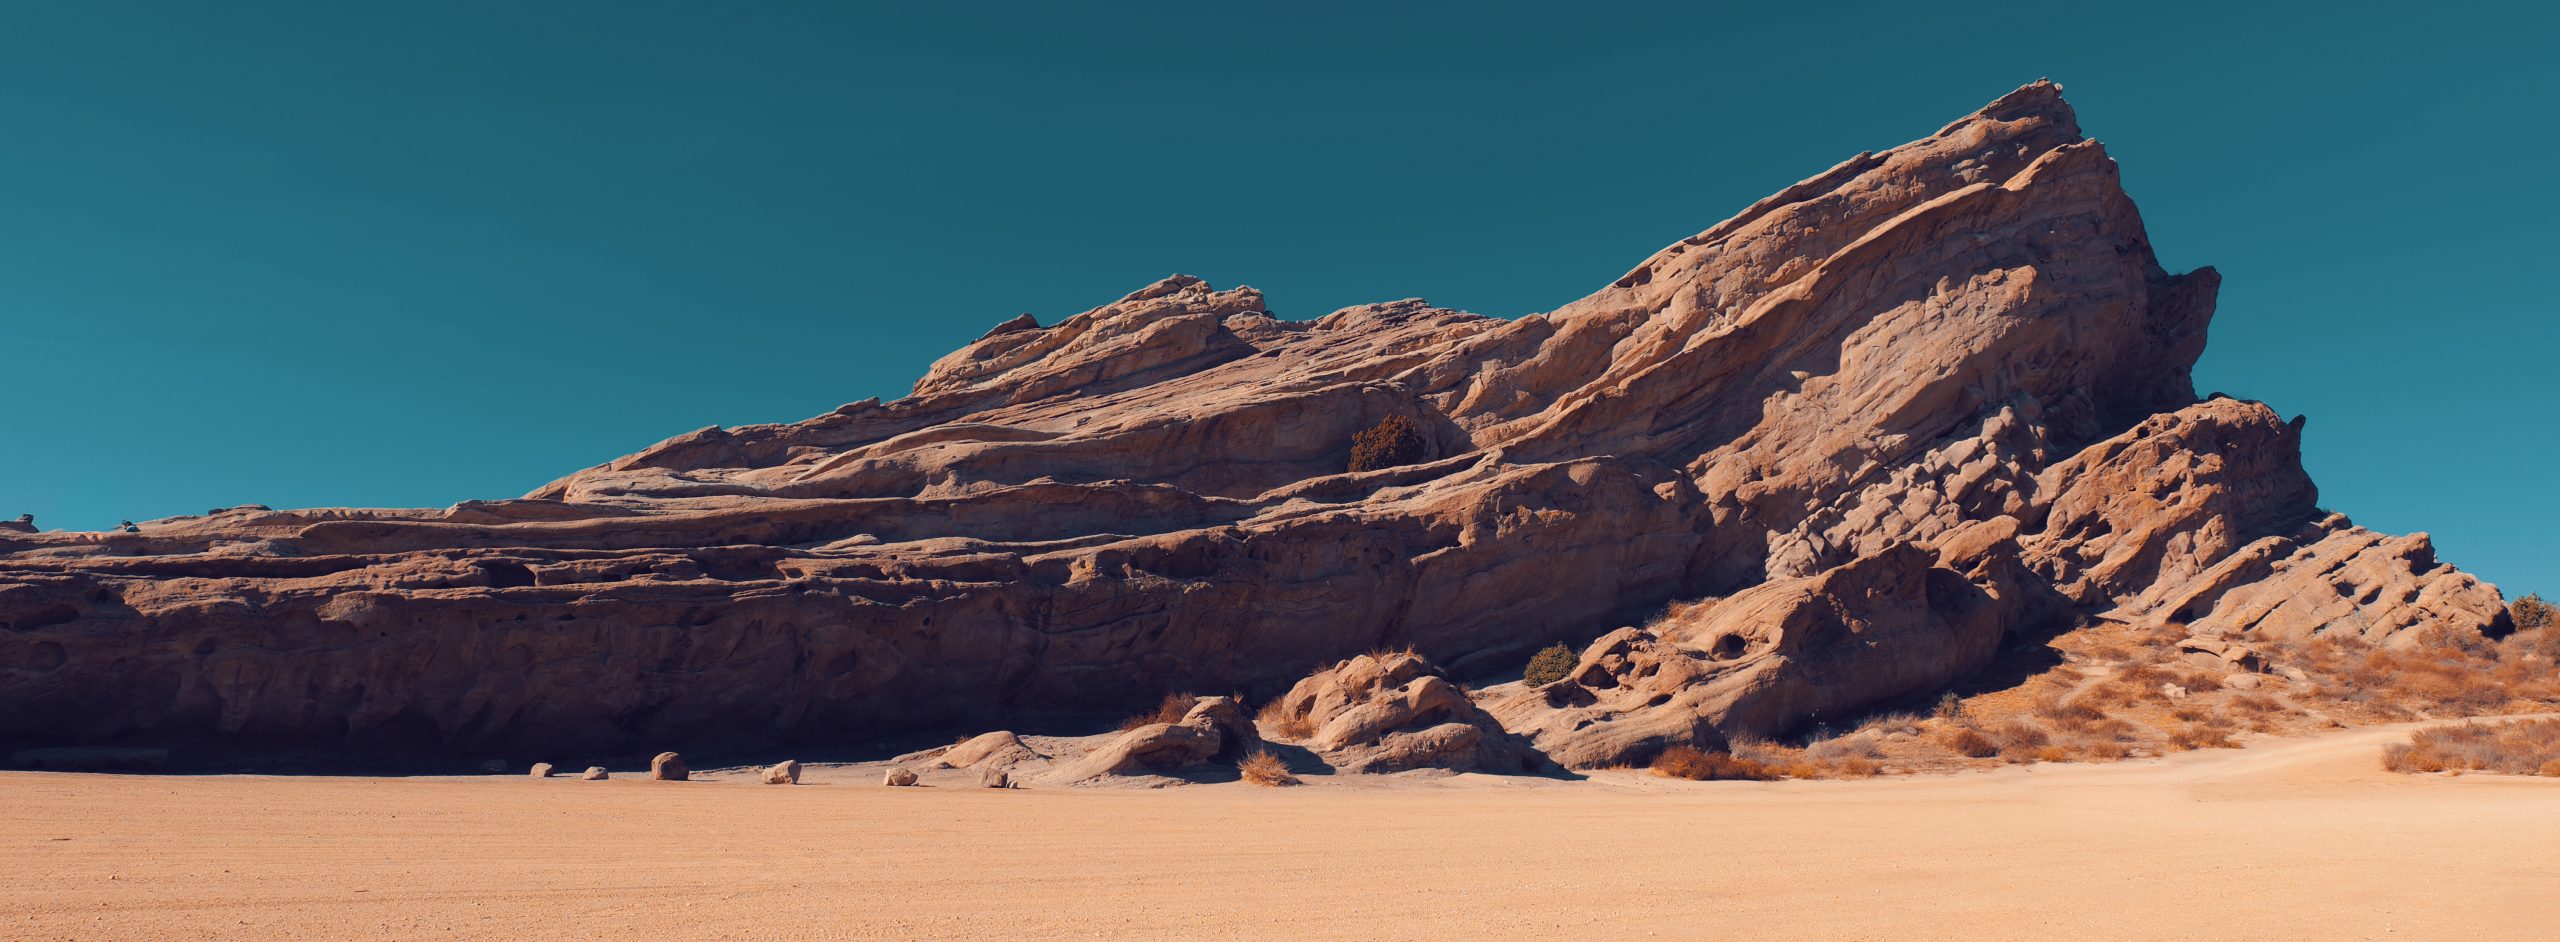
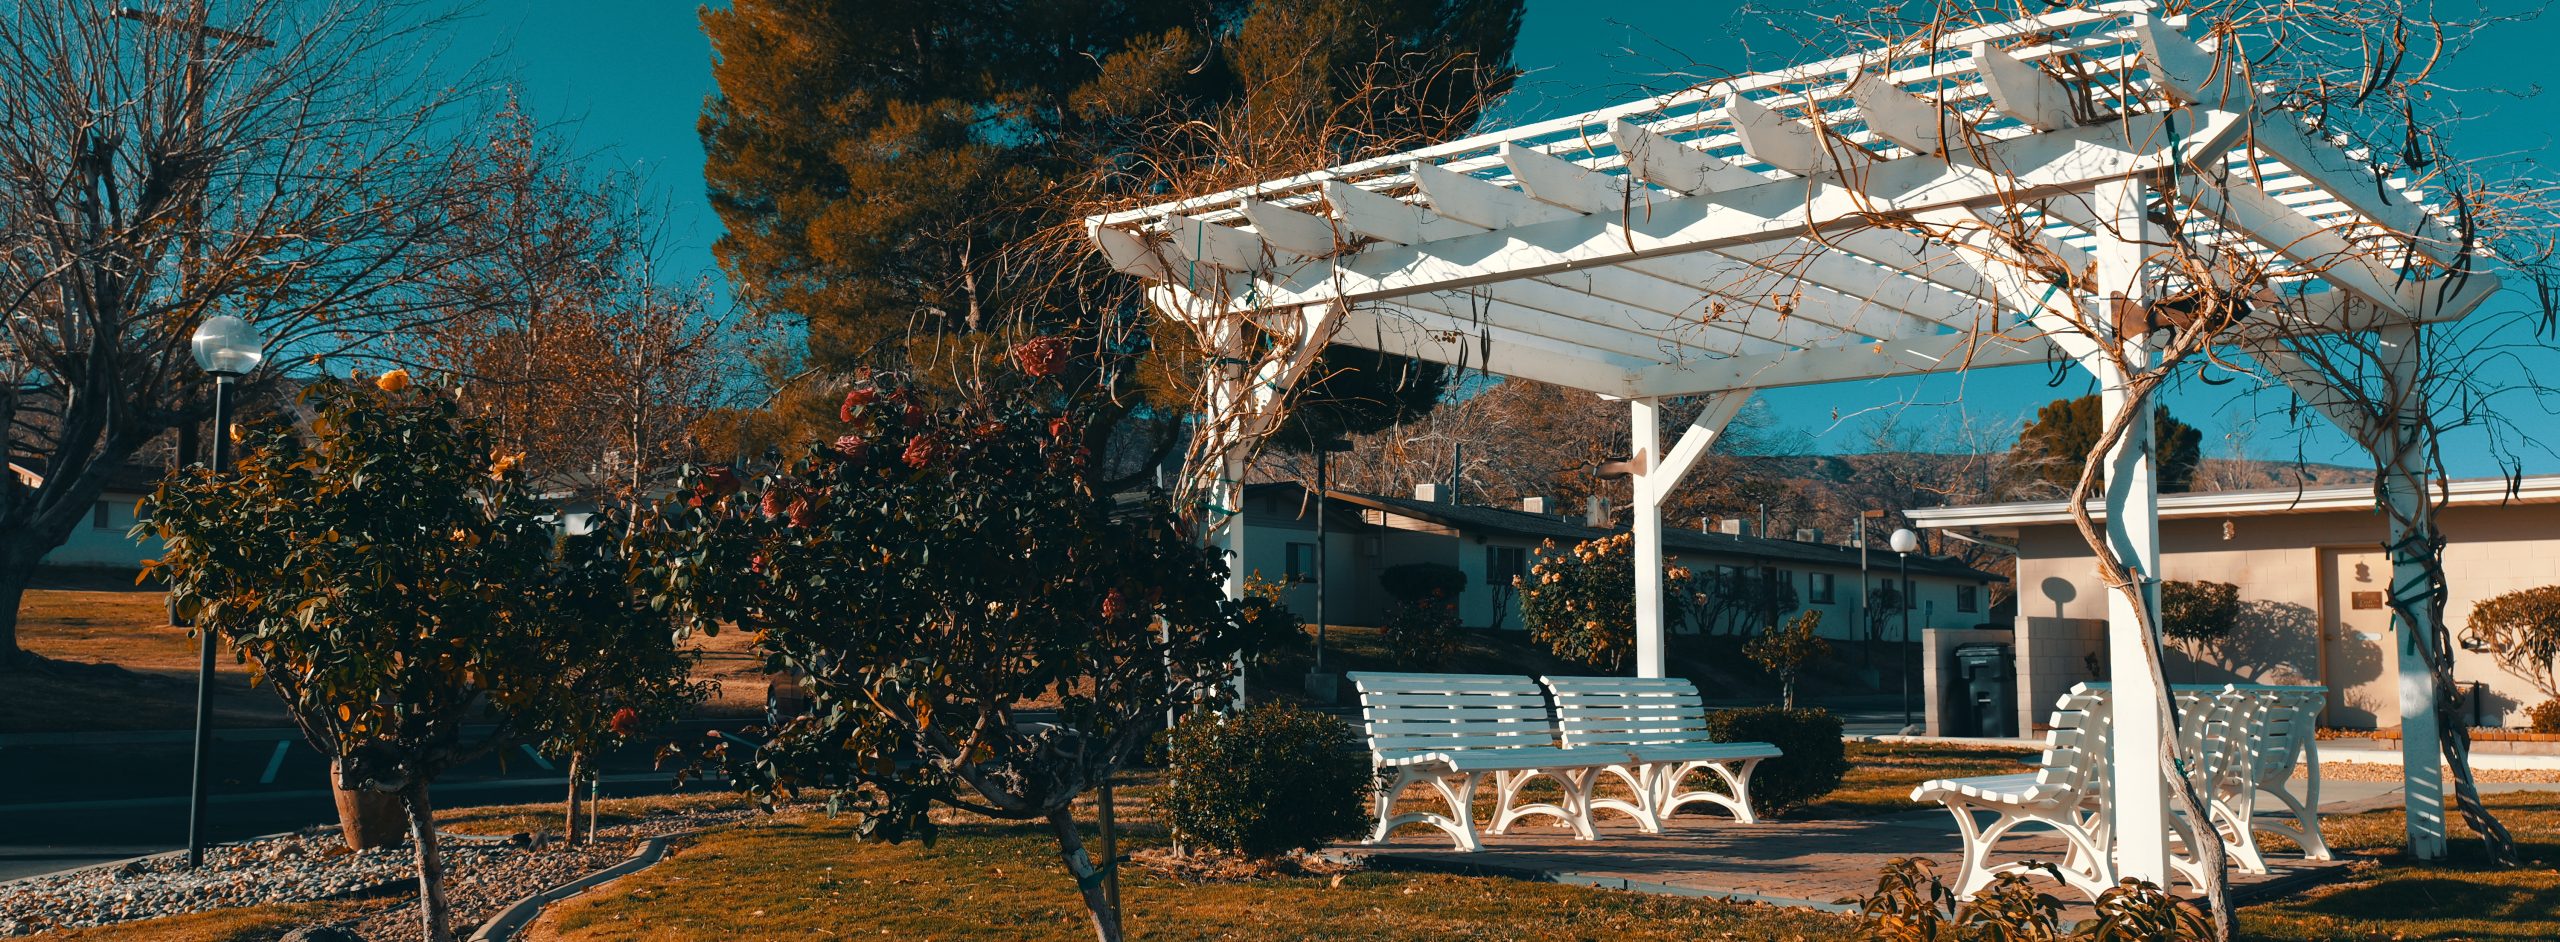
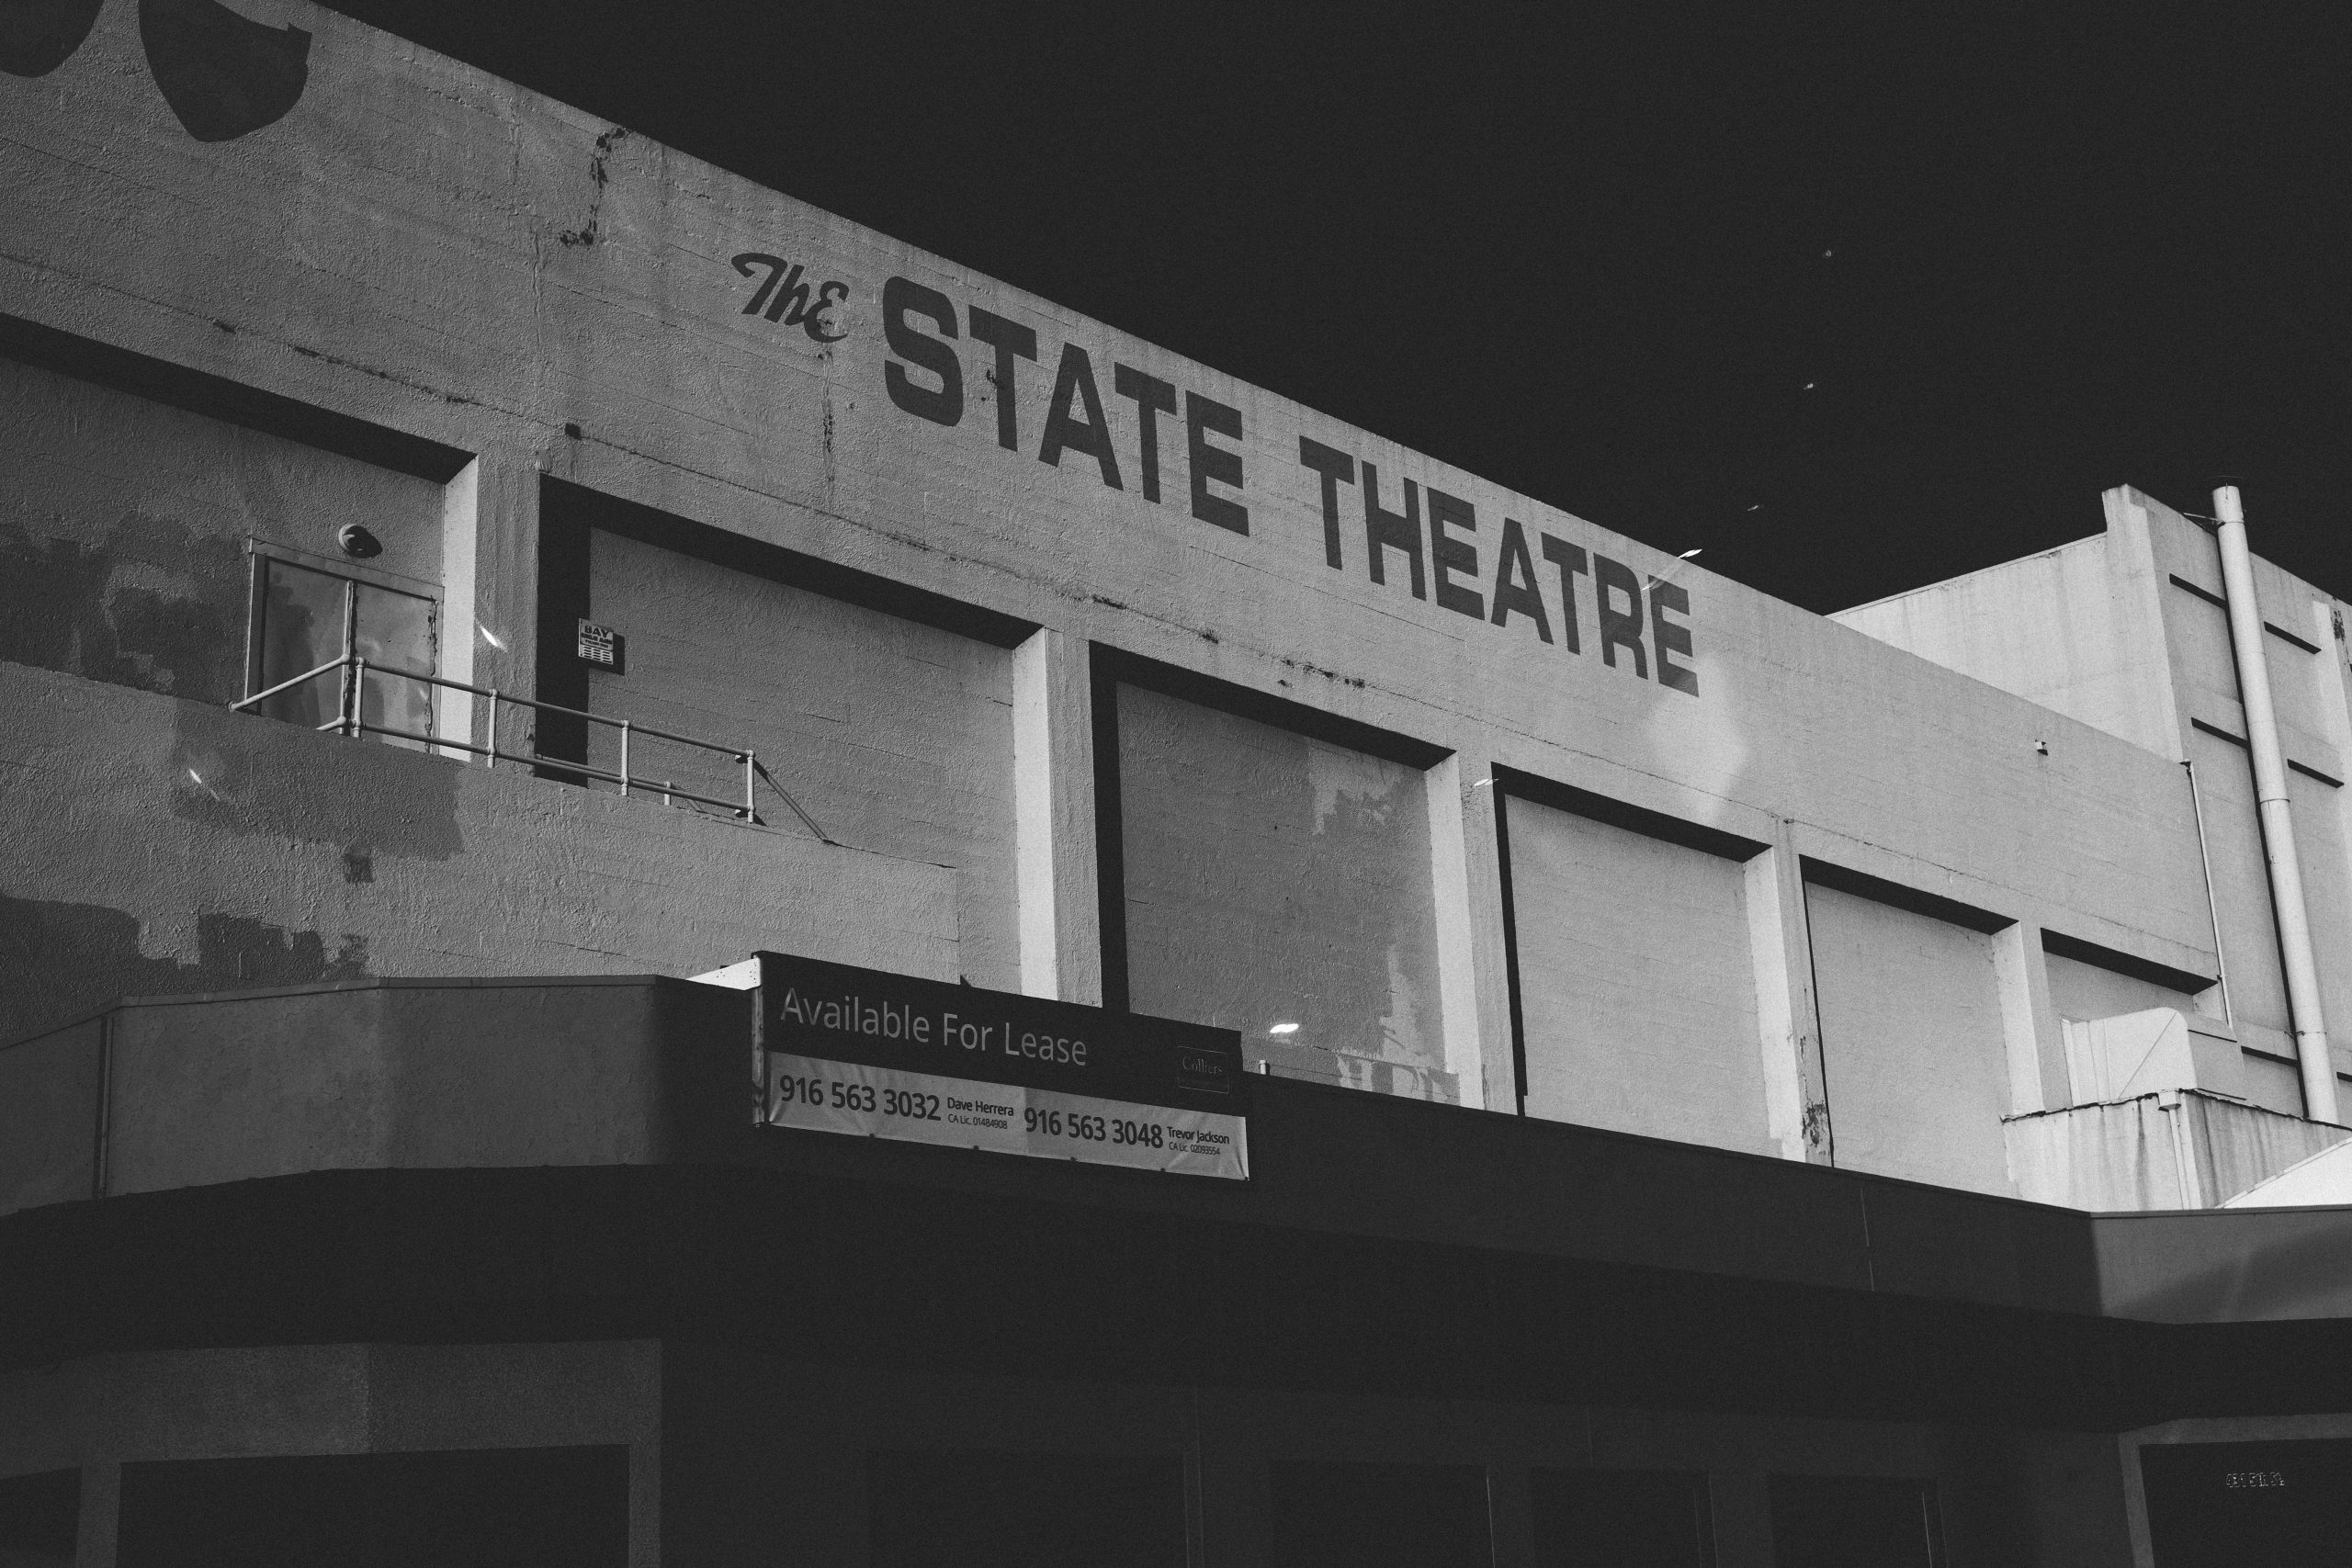
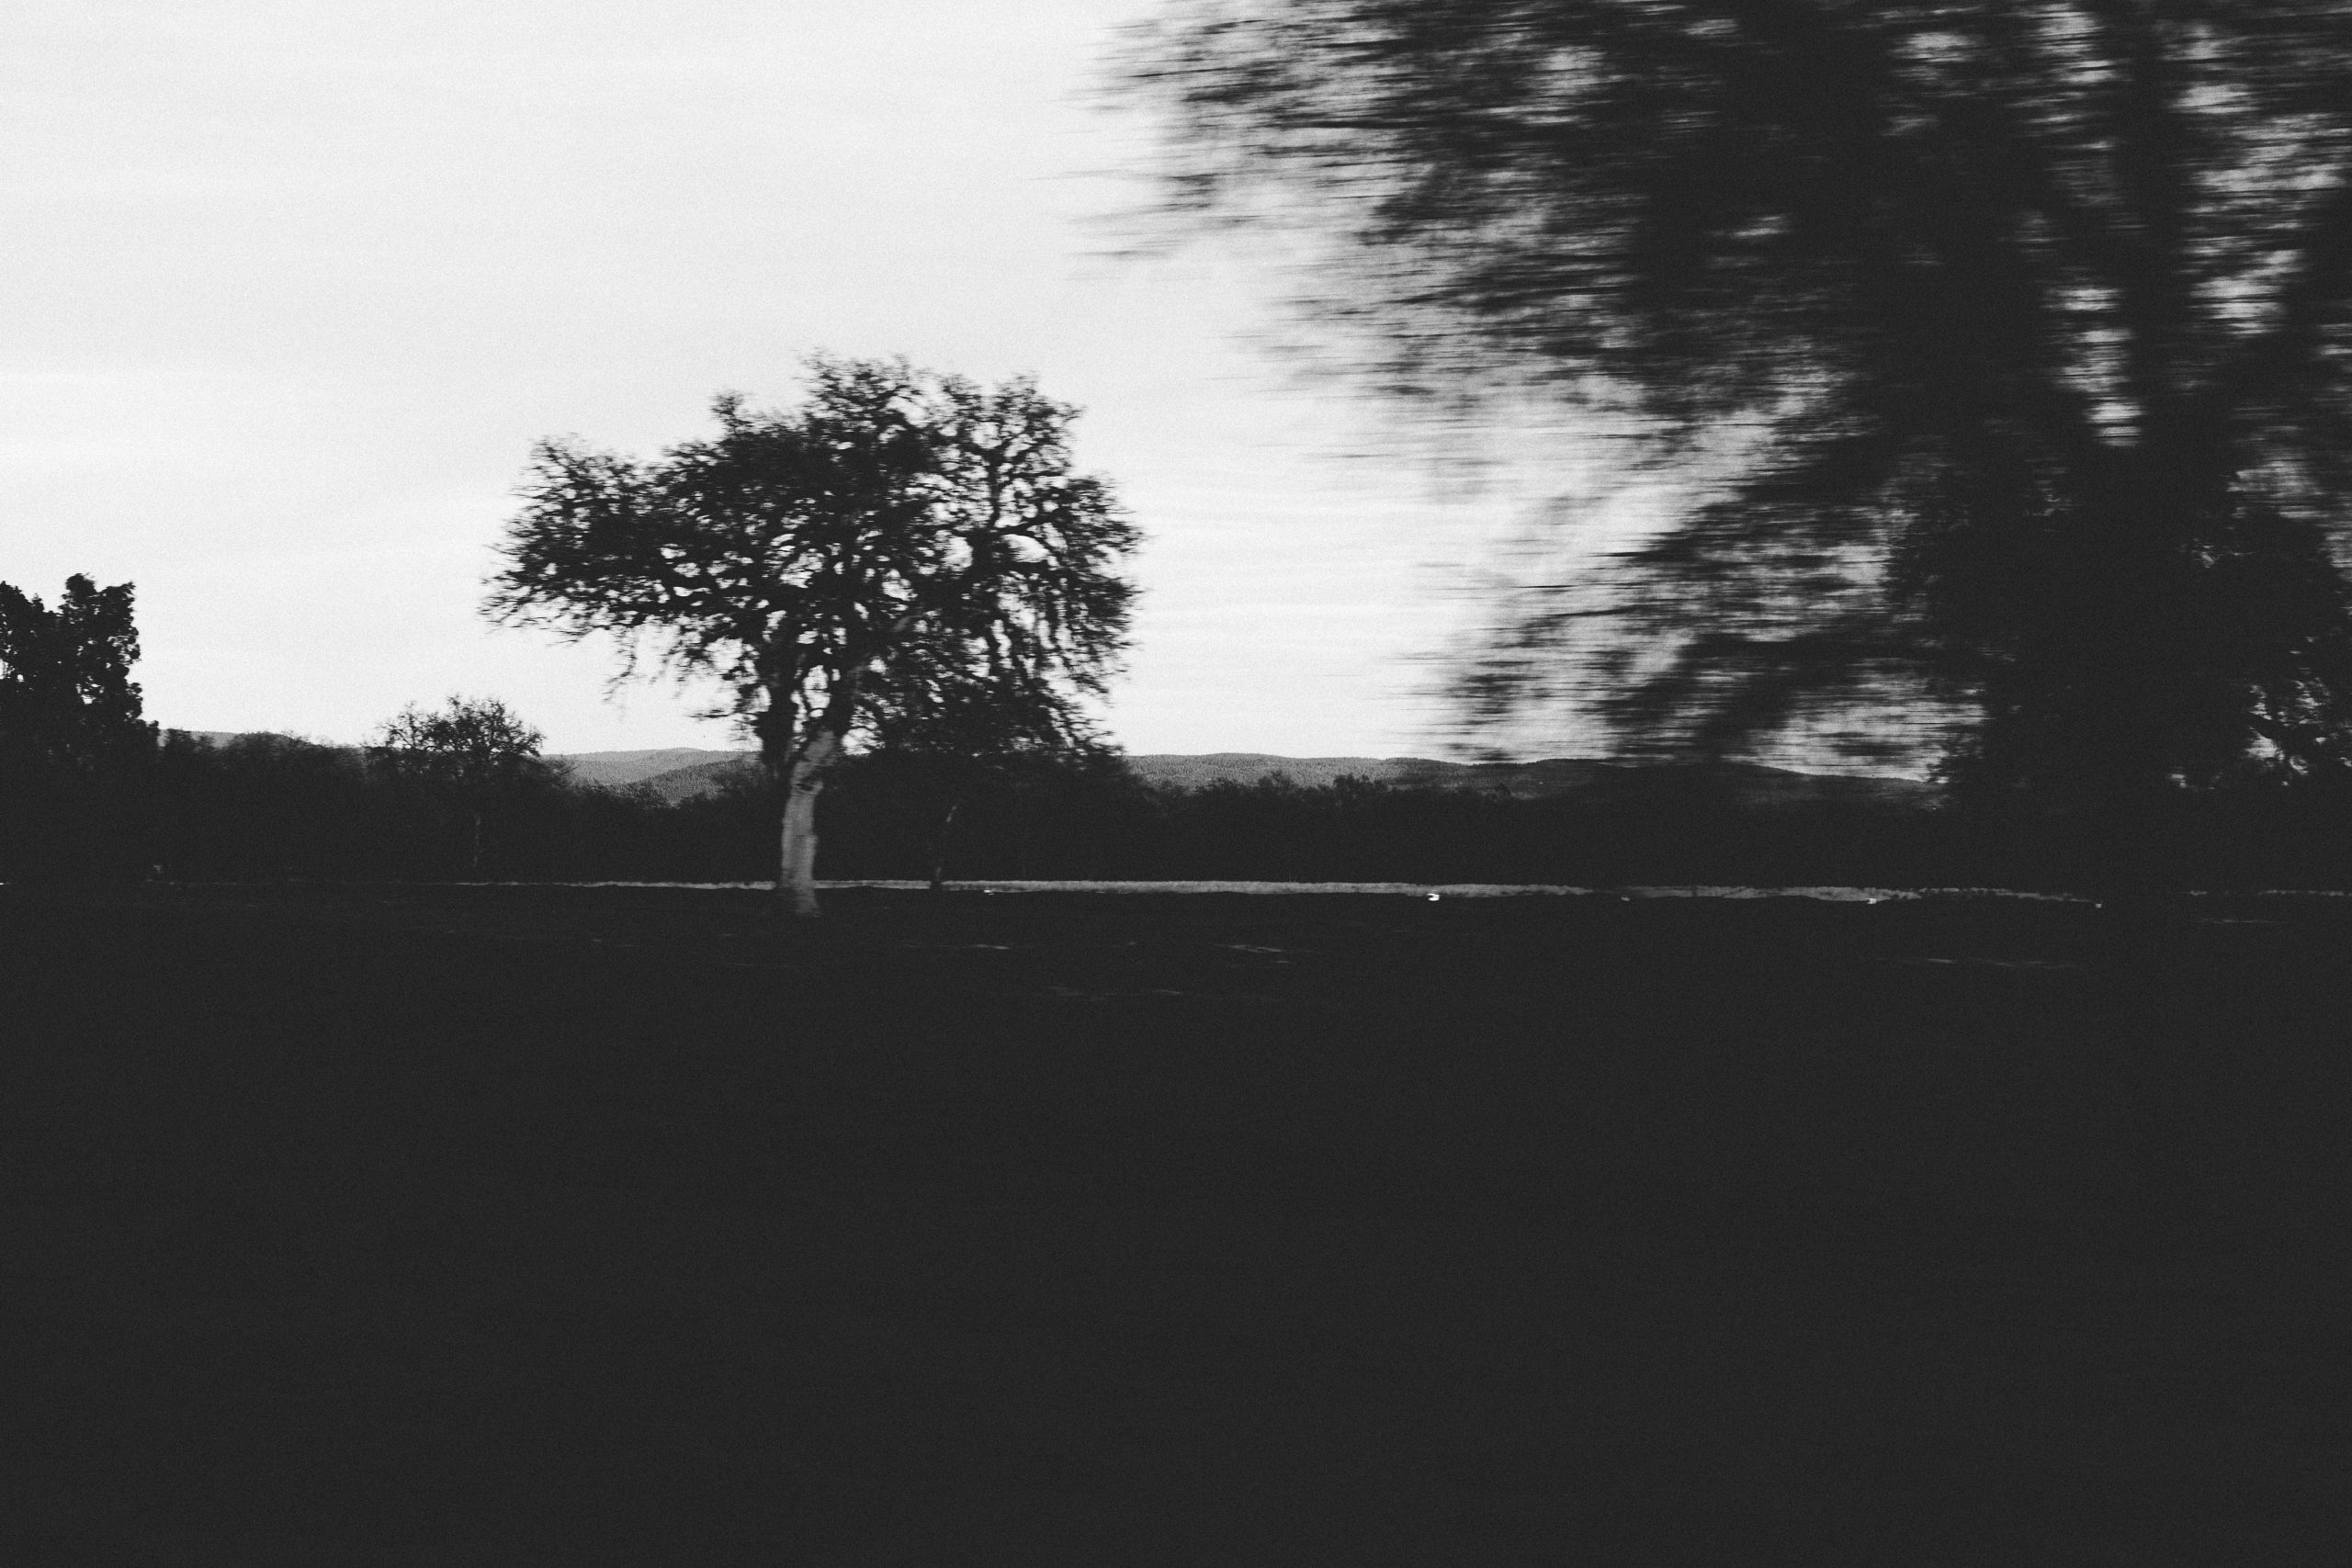
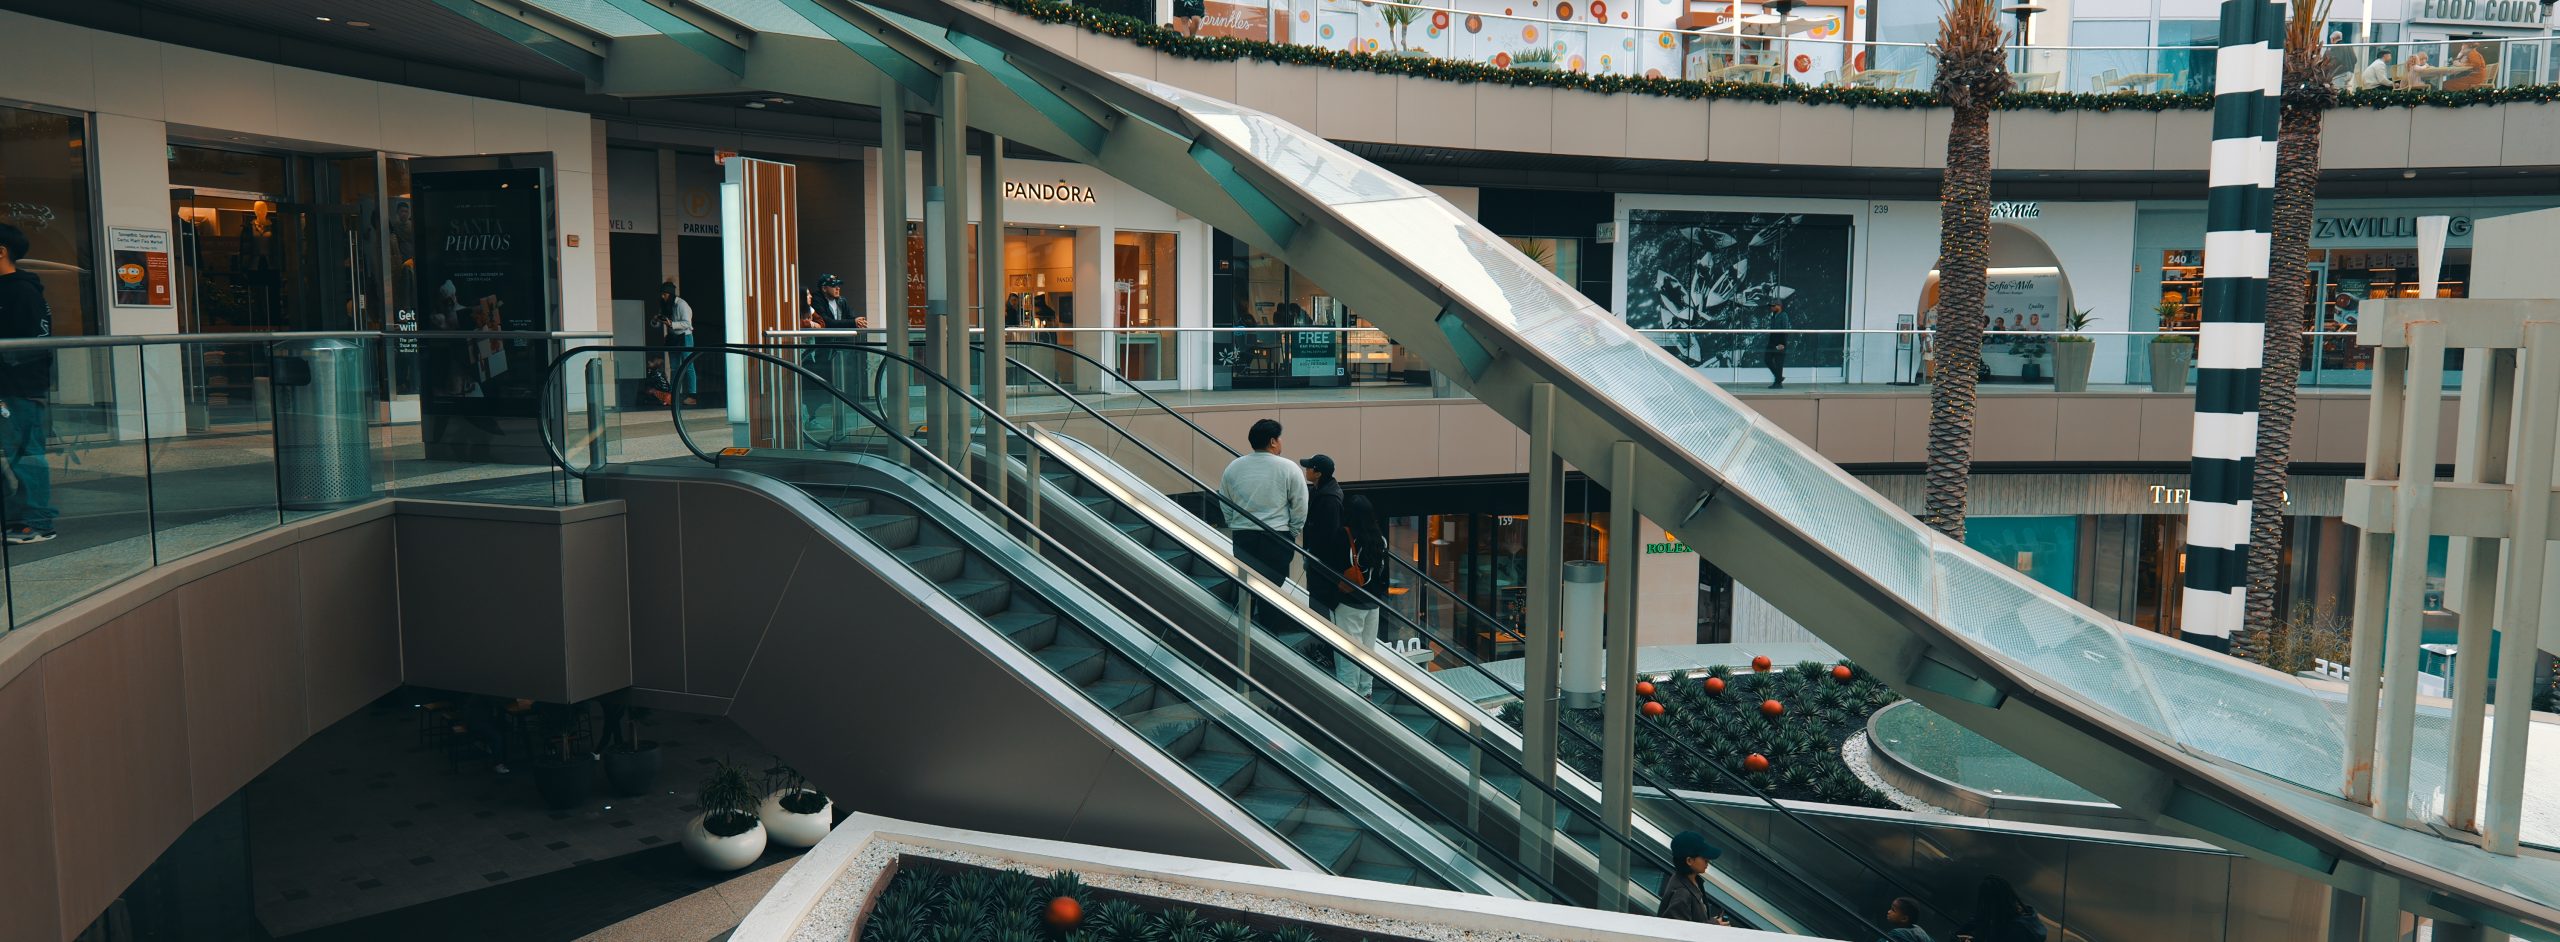
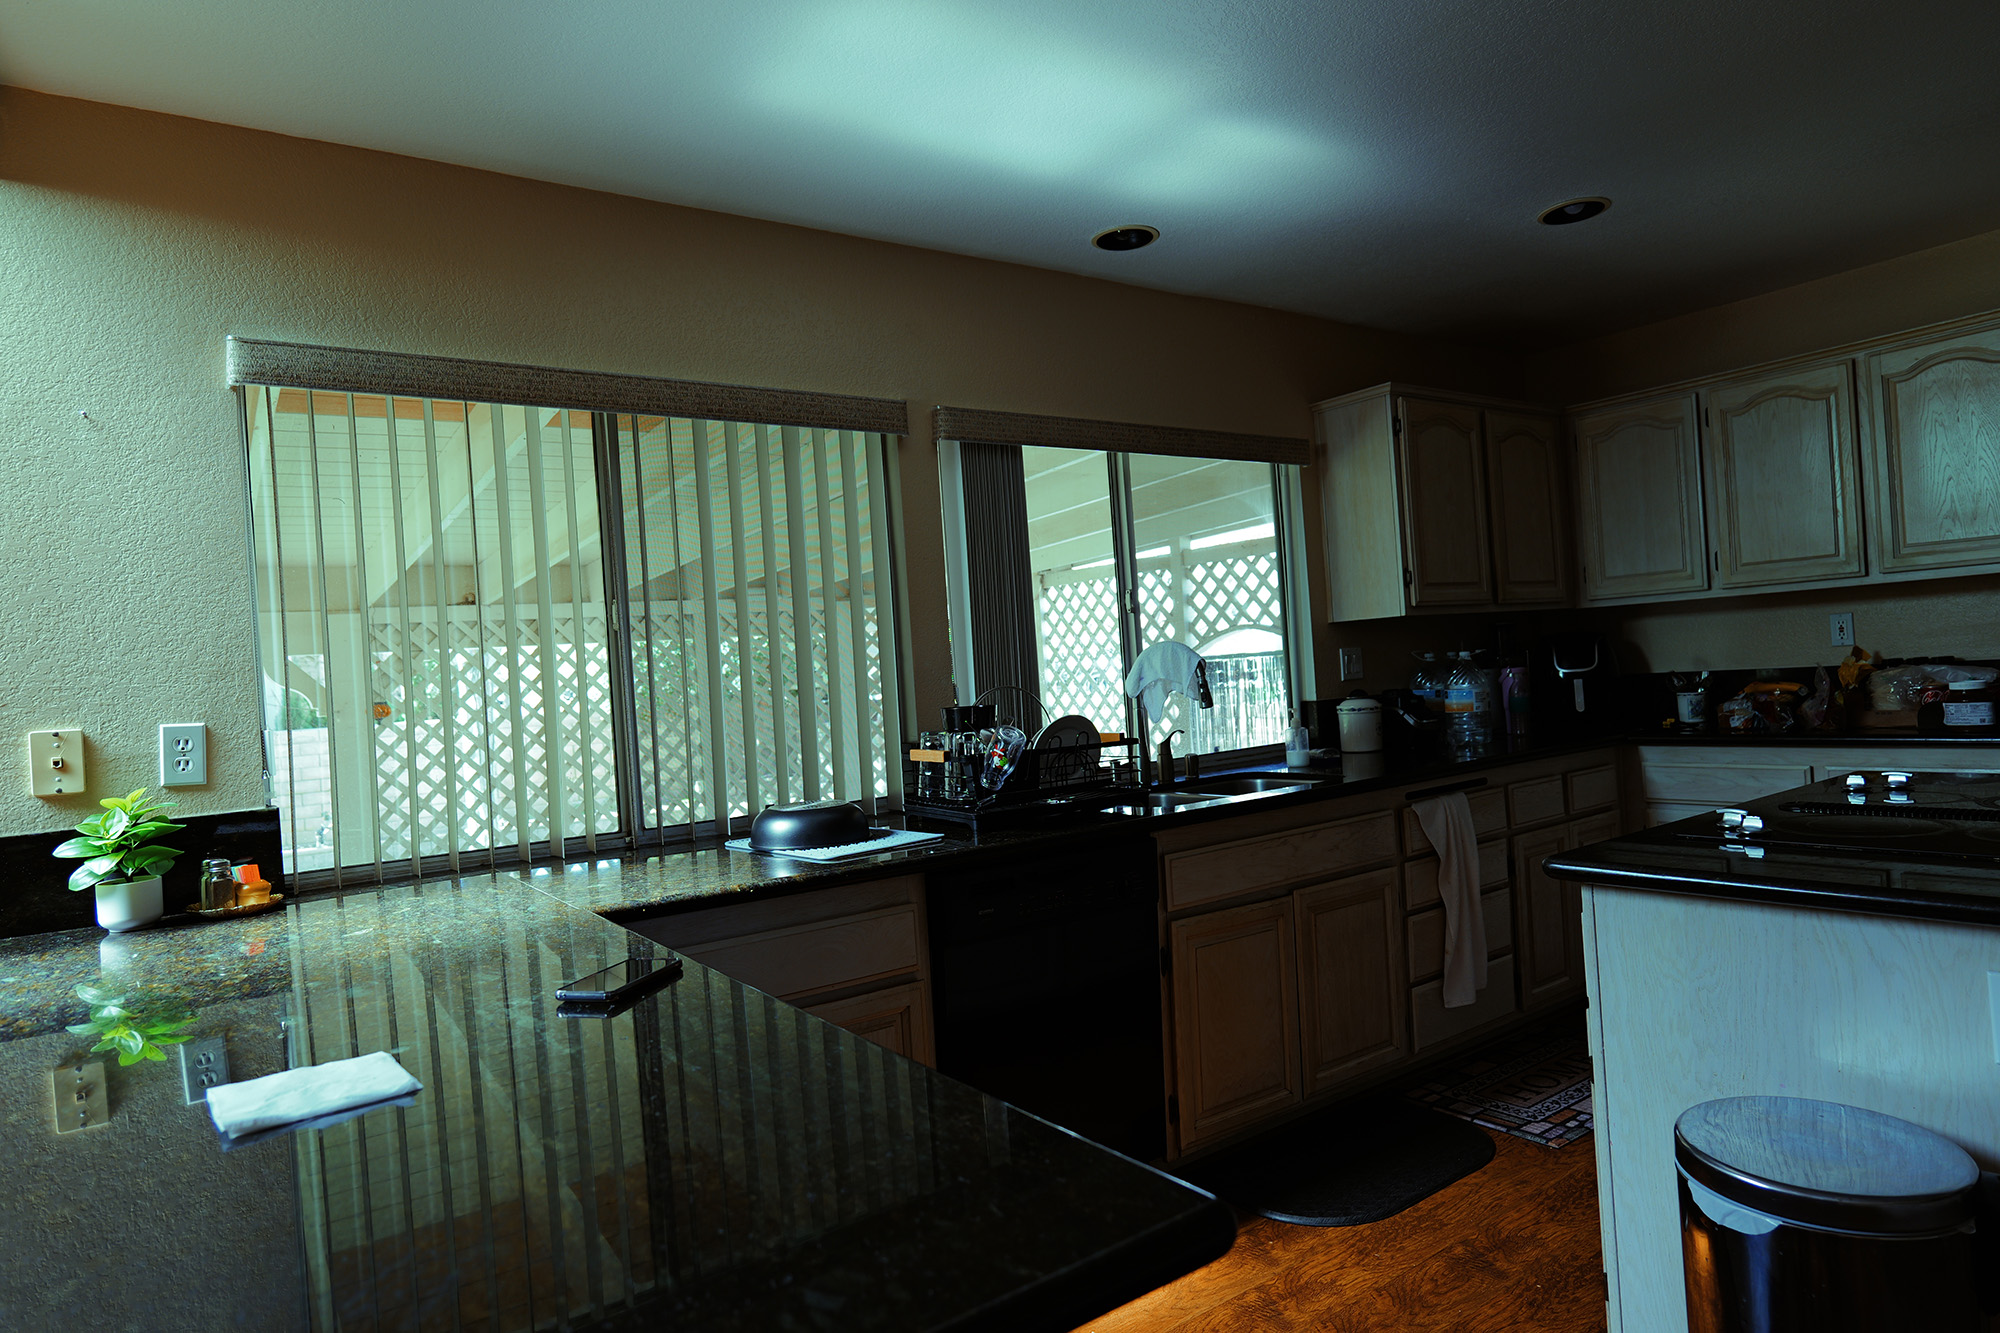
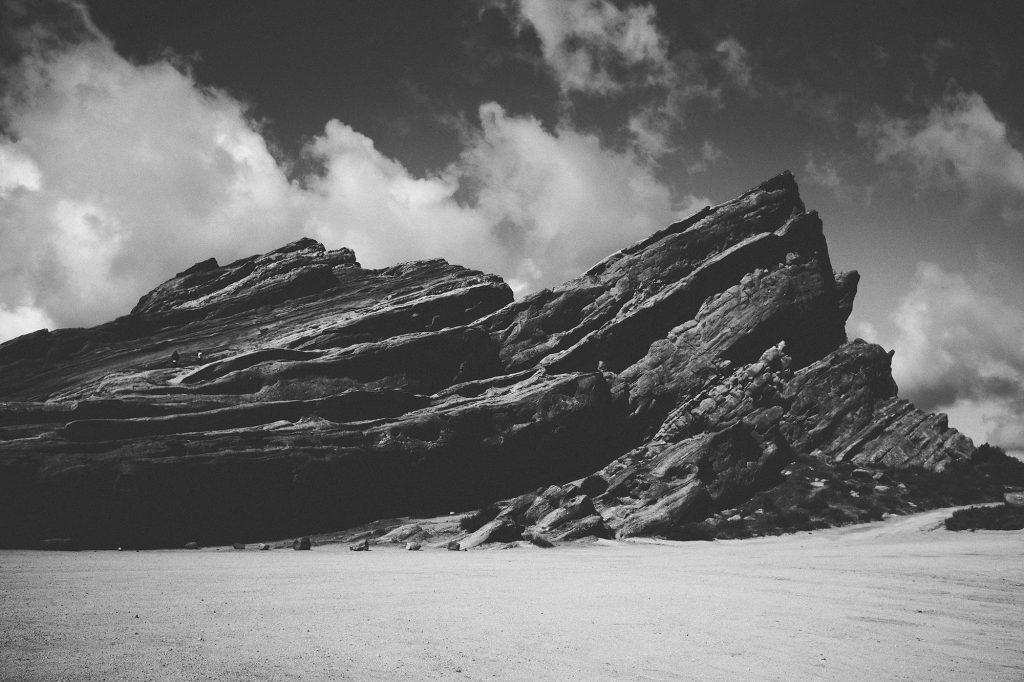
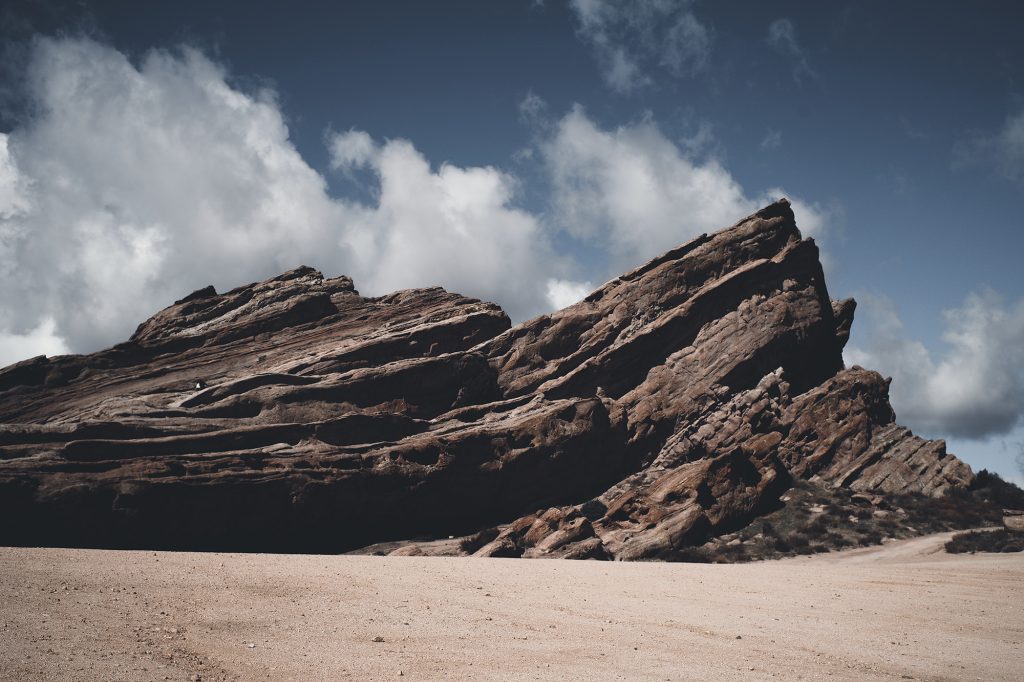
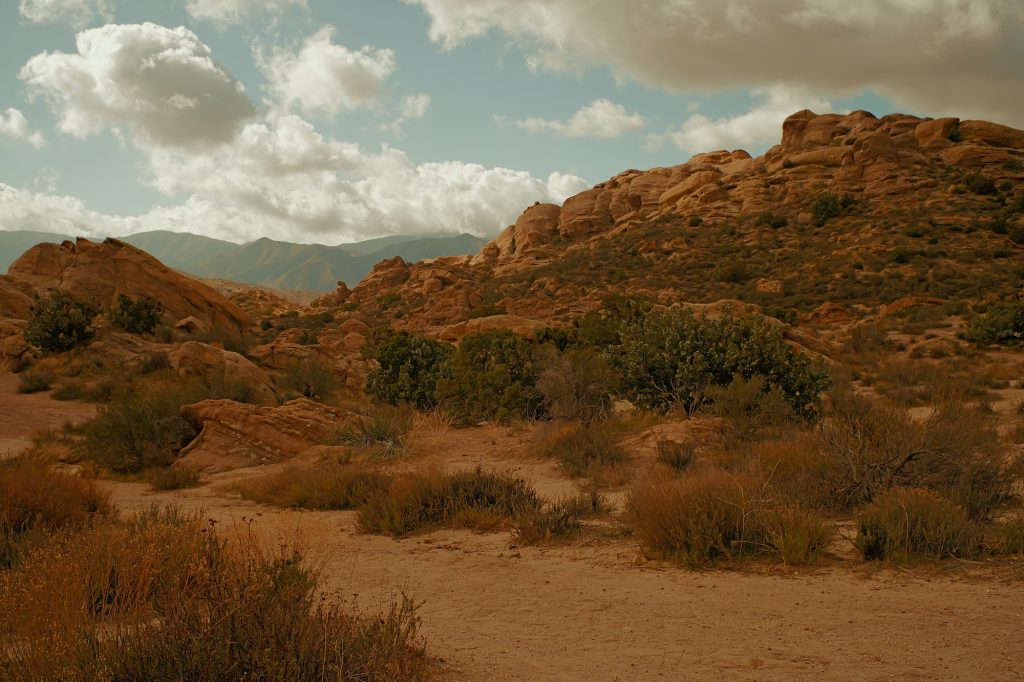
Here are some examples of 3rd party LUTs that I’ve loaded onto my Lumix S9:


Also consider seeing these LUTs used in Real Time for this video production:
If the 3rd party LUT is added to the camera, it will load with a VLOG profile, but the colors won’t be right. They will almost appear as having no LUT. We need to reassign the color profile and it gets a bit complex, but I’ll go through the steps in this post.
Unfortunately Lumix Lab doesn’t allow us to upload our own 3rd party LUTs. We have to instead use a work around to get the LUTs on the camera. Once on camera, there are two ways to get a color profile assigned to the LUT. It may sound complex, but I’ll walk through the steps I use to make this happen.
Preparing LUTs
A lot of 3rd party LUTs are 64 bit. Lumix cameras will not currently read that format. They read 32 bit LUTs. If you have photoshop the easiest way to convert this over, is to load the LUT on a neutral or flat image, and validate you are seeing the colorization you want. If you don’t know how to do that in Photoshop, here’s the steps:
Photoshop: Loading LUTs
- Open a flat or neutral image in photoshop
- click on the adjustment layer icon in the layers panel (Circle with the dark/light split):

- Click the Color Lookup link in the popup menu:

- Above, in the Properties panel for Color Lookup, click “Load 3D LUT” and then click the checkmarked option “Load 3D LUT”


This will open a browser. Find your .cube LUT file. Once opened it will apply the LUT to the adjustment layer.
Photoshop: Converting to 32 Bit LUT
If the look is what you expect, then the next step is to export this as a 32 Bit file. This can be done by:
- Clicking File
- Clicking Export
- Clicking Color Lookup Tables

- In the menu export menu, set the Grid Points from 64 to 32.
- Click OK and continue to save this back to the SD Card.
Loading the Custom LUT onto a Lumix Camera
After inserting the SD card with the LUTs in the root of the SD card, they need to get imported onto the camera itself. This can be done by:
- click Menu
- click the Gear icon
- Scroll to LUT Library and click that option
- Find an empty slot (or a slot you will replace an existing LUT) and click it
- Click “Load”
- A list of LUT files from the root of your SD card will be listed, pick the one you want and select it.
- Confirm the transfer
If you were to pull that LUT up right now, it will not look right. It will be faded out and flat. It’s not assigned a color profile and you’ll likely need to do this, unless the LUT was designed to work with VLOG.
Assigning Color Profiles to a C1-C10
On Lumix Cameras there is the C1, C2, and C3 custom profiles. On the S9, C3 has another 10 profiles within it, accessed via menu. In other words, you turn the dial to C3, and use the menu to scroll through 10 custom profiles in C3. These custom profiles hold all sorts of data: white balance, LUTs (multiple LUTs can be layered), aspect ratio, Video settings… etc.
- Click menu
- click the camera icon
- click Photo Style
- Change it from “Real Time LUT” to “My Photo Style 1”
- Scroll down through the options and stop on LUT 1
- Click the LUT button on the back of the camera.
- Select the 3rd party LUT you loaded earlier, via LUT Library
- Back in the menu, scroll up to the profile value (likely it’s “vlog”)
- with it highlighted, use the wheel to cycle through different profiles (Std., Nat., Port., etc.)
- You can also change the shadow, contrast, brightness, hue, saturation values as needed. You can even load a 2nd LUT to combine with this LUT (using the same process).
- Once you have the Look you are after, click menu.
- Click the wrench icon
- Click the sub menu with the gear icon
- Click “Save to Custom Mode”
- Find an open C1-C10 slot and click Save
- Note: all settings will save to this custom slot. Your aspect ratio, ISO, etc. will save.
Assigning Color Profiles and avoiding consuming C1-C10
While the first method above works, it consumes the 13 available custom slots. There are 39 LUT slots we can use instead, but this gets a bit tricky. Let me explain the high level of this process: Since we can’t load the LUT into the Lumix App, we have to first get it loaded on the camera (via the Lumix Library process mentioned under “Loading a Custom LUT onto a Lumix Camera”). Once it’s on the camera it will need to be transferred back to the Lumix App (this is how we load the 3rd party LUT onto the Lumix App). Once in the app we have more control (believe it or not) over the look and feel of the LUT. The Lumix App has better control over tonal curves, shadow, HSL, etc. Below is the process:
- After loading the the LUT onto the camera in the steps “Loading a Custom LUT onto a Lumix Camera” above is complete, use the app to connect to the Lumix camera to transfer LUTs.
- Once connected, click the “Camera” tab and find the LUT that was added off the SD card.
- Click it and choose to “Send to Device.” This sends the LUT to your cellphone, and loads it onto the Lumix Lab App.
- Find an image in your Lumix Lab Gallery that is in a profile you think is perfect for this (Standard, Natural, L.Classic.N, Monochrome, etc.) The photo you use from the gallery is the profile that will get backed into the LUT.
- With the photo loaded in Lumix Lab, scroll through the LUT options below until you get to the new LUT just imported from the Camera.
- Adjust any necessary items: I usually update the exposure, contrast, shadow from the Light options. I also Adjust the HSL options and finally I usually touch up the Split Tones (to adjust shadow and highlight color tones for this particular LUT).
- When ready, click the “Create LUT” in the upper right.
- Give the new LUT a name and save
- Using the Lumix Lab App, once again sync with the camera to transfer LUTs
- Once connected, this time, click the device tab.
- Find the LUT you just created with the color profile above.
- Click the LUT and choose to transfer to camera
- Scroll to the initial .cube file you loaded onto the camera (the one that was flat) and chose to import there, replacing it with the fixed version from the Lumix Lab App.
This last method will use the 39 LUT slots.